The water decisions that matter before you leave the car park
- Start with about 2 litres per adult for a hill day, then adjust for heat, distance, and elevation gain.
- Do not assume a clear stream, burn, or tarn is safe to drink from without treatment.
- Boiling is the most reliable fallback; filters are faster, and tablets are useful as a backup.
- Drink small amounts regularly instead of trying to catch up when you are already thirsty.
- Carry extra if you are hiking with children, walking in exposed terrain, or planning a long descent back to the trailhead.
How much water to carry on a UK day hike
For a short lowland walk in mild weather, I usually think in terms of 500 ml per hour. Once the route turns into a proper hill day, that estimate rises quickly, and the National Trust’s hill-walking advice of about two litres per adult becomes a sensible baseline rather than an overcautious one. If the forecast is warm, the ascent is steep, or there is little shade, I would rather carry a little too much than find myself rationing sips halfway through the day.
| Route type | Typical conditions | Practical starting point |
|---|---|---|
| Easy lowland walk | 2-3 hours, mild weather | 1-1.5 litres |
| Half-day hill route | Mixed terrain, steady pace | 2 litres |
| Full-day exposed hike | Wind, sun, or repeated climbs | 2.5-3.5 litres |
| Backpacking with planned refills | Overnight or multi-day | 1.5-2 litres between reliable sources |
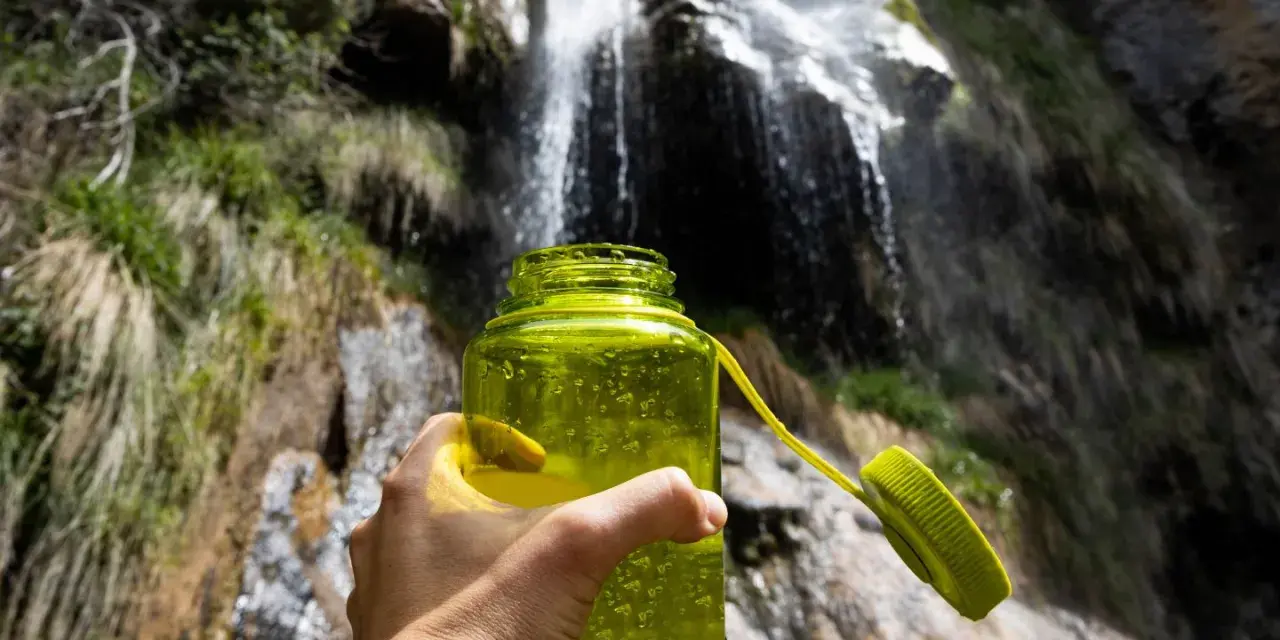
Why streams, tarns, and burns need a second look
The temptation to top up from the nearest clear stream is easy to understand, especially when the water looks cold and fresh. I still treat natural water as a convenience, not a promise, because appearance tells you almost nothing about contamination. In the UK, livestock runoff, wildlife, rain wash-off, and human activity can all affect water quality, and the Lake District National Park advises avoiding drinking from natural water sources.
A few signs make me especially cautious:
- Water that is stagnant, pooled, or slow-moving.
- Sources below grazing land or near obvious animal tracks.
- Runoff after heavy rain, when everything upstream has been washed into the water.
- Water close to paths, campsites, bothies, or busy picnic spots.
- Tea-coloured water from peat, which is common in upland Britain and may clog kit even when it is not visibly dirty.
Clear water is not the same as safe water. That is why treatment matters, even when the source looks pristine, and that brings us to the gear choices that actually solve the problem.
The main ways to make water safe on the trail
For backpacking, water treatment is one of those choices that looks simple until you need it in bad weather or at the end of a long climb. My rule is blunt: if I cannot confidently trust the source, I treat the water before I drink it. The best method depends on speed, fuel, battery life, weight, and how dirty the source is.
| Method | Best for | Strengths | Limits |
|---|---|---|---|
| Boiling | Camps, emergencies, and very uncertain sources | Most reliable for killing germs; simple to understand | Uses fuel and time, and you have to wait for it to cool |
| Filter | Day hikes and backpacking with stream refills | Fast, light, and convenient for repeated use | Needs cleaning and can clog in silty water |
| Chemical tablets or drops | Backup kits and minimalist setups | Tiny, cheap, and easy to carry | Waiting time, taste, and less convenience in cold weather |
| UV purifier | Clear water and quick treatment | No taste and very fast when used properly | Depends on batteries and clear water |
If I am choosing one system for backpacking, I usually prefer a filter plus a small backup method. The backup matters because a clogged filter, a cracked bottle, or a dead battery is exactly the kind of problem that turns into a bigger one late in the day. A pre-filter, such as a clean cloth or bandana, can help with muddy water, but it does not make water safe on its own.
That choice only works if the rest of your water plan is built around the route itself, so the next step is making the logistics realistic.
How I plan water for day hikes and overnight trips
For a day hike, I want all the drinking water I need already in the pack, plus a small reserve for delays. For backpacking, I think in terms of refill spacing, treatment, and how visible the remaining water is during the day. A bottle is easier to ration because I can see exactly how much is left; a bladder is more convenient for sipping on the move. My usual compromise is a bottle I can reach without unpacking and a second container in reserve.
- Check the route for known taps, visitor centres, campsites, or reliable refill points.
- Assume less from the map than you want to; water symbols are clues, not guarantees.
- Carry a margin if the route is remote, exposed, or likely to be slower than planned.
- Split the load between a drinking bottle and a backup container when the day is long.
- Plan for cooking water separately if you are camping and need more than just drinking water.
Once the route is sorted, weather becomes the next variable that can quietly change everything.
Why weather changes how much you need
British weather can be deceptive. A cool, windy day can dry you out almost as effectively as a warm one, and a steady climb in exposed terrain makes that worse. I have seen more hikers underdrink in cold conditions than in hot ones, mainly because they do not feel thirsty soon enough.
Here is what I watch for on the trail:
- Headache or a dull drop in concentration.
- Dry mouth and a noticeable dip in pace.
- Dark urine when you finally stop.
- Feeling strangely tired on ground that should feel easy.
- Irritability, which sounds small but is often an early sign that the day is going off track.
Electrolytes are the salts you lose in sweat, and they matter more when the day is hot, long, or very sweaty. I do not reach for electrolyte drinks on every walk, but I do think they earn their place when the route is steep, the weather is warm, or I know I will be pushing for several hours without a proper break. Once you understand the weather side, the remaining problem is avoiding the mistakes that catch people out again and again.
The mistakes I see most often
The same water errors show up on all kinds of walks, from easy family routes to more serious backpacking days. Most of them are avoidable, which is the frustrating part.
- Waiting until you feel thirsty - thirst is late, not early, so you are already behind.
- Trusting clear water too quickly - looks can be misleading, especially after rain.
- Carrying everything in one container - one leak or one empty bottle leaves no margin.
- Ignoring small hikers - children often need more frequent sips than adults expect.
- Forgetting to budget for the return leg - the descent can be longer and slower than it looks on paper.
- Relying on puddles or stagnant water for dogs - it is a poor plan for pets and can be risky too.
My practical fix is simple: build a buffer, keep treatment gear accessible, and never assume the first refill opportunity will be the best one. From there, the system becomes much easier to trust, which is really the point.
A simple setup that works on most British trails
For most UK hill days, I keep the system deliberately boring: about two litres per adult to start, one bottle I can reach quickly, and treatment gear only if I expect to refill from uncertain sources. For overnight backpacking, I add redundancy because a second treatment option costs far less than a ruined night or a forced retreat.
- Short lowland walk: one bottle is often enough.
- Hill day with a steady ascent: start with two litres and drink regularly.
- Hot or exposed route: carry more than you think you need, then confirm refill points in advance.
- Backpacking trip: combine a primary treatment method with a backup.
The real win is not carrying the most gear; it is knowing exactly how much water you need, where you can refill, and what you will do if a source looks doubtful. Get that part right, and water stops being a problem and starts doing its job quietly in the background.