A good campsite starts with the right basics: dry shelter, warm sleep, simple food, and light that works when the path turns muddy after dark. This guide is a practical tent camping list for the UK, shaped around real conditions rather than fantasy packing, so you can bring what matters and leave the clutter behind. I’m focusing on the gear that keeps a trip comfortable, organised, and easy to enjoy.
The essentials that keep tent camping dry, warm, and manageable
- Shelter first: tent, groundsheet or footprint, pegs, and a mallet matter more than almost any other item.
- Sleep is a system: sleeping bag, mat, and pillow work together to keep you warm and rested.
- UK weather changes quickly: waterproof layers, dry socks, and footwear that handles wet grass are non-negotiable.
- Simple cooking wins: a stove, fuel, one pot, and basic washing-up kit are enough for most trips.
- Small tools save time: headtorches, power banks, first aid supplies, and repair tape prevent minor problems from becoming annoying ones.
- Pack by system: group gear by tent, sleep, kitchen, clothes, and safety so setup at camp is faster.
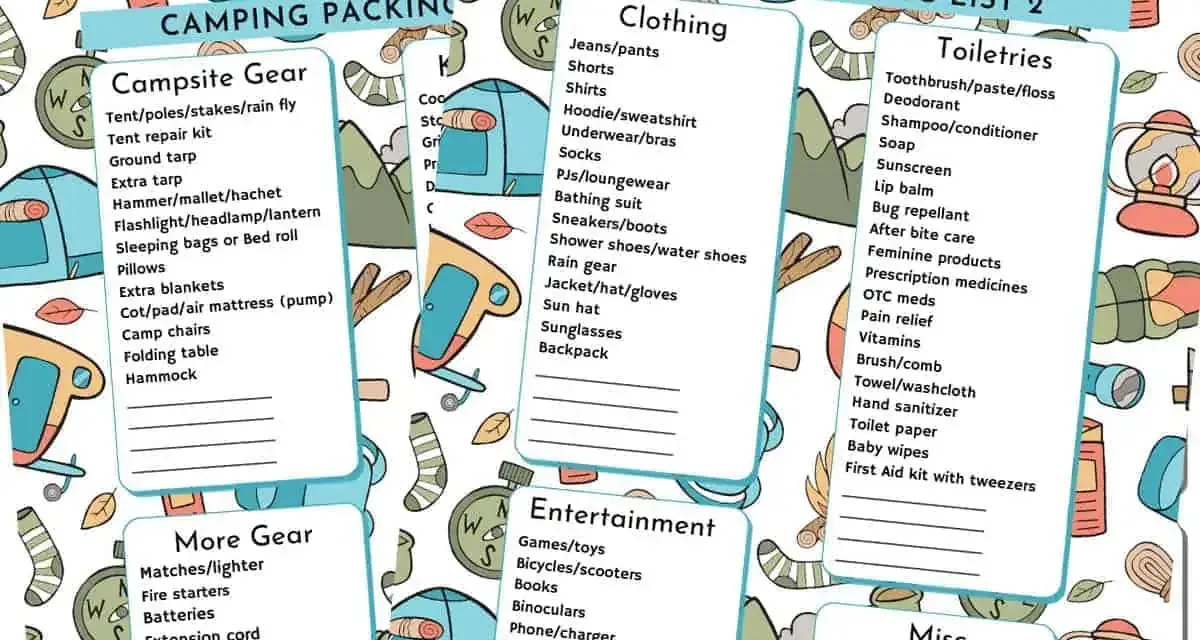
What belongs on a real tent camping list
I like to sort camping gear by function rather than by how it fits in a cupboard at home. That keeps the list honest. If a campsite has no picnic table, no shop, and no dry shelter beyond your own tent, the essentials suddenly become obvious: something to sleep in, something to sleep on, something to cook with, something to wear when the weather turns, and a few items that help you deal with darkness, dirt, and small repairs.
The table below is the version I would use as a starting point for a weekend away in Britain.
| Category | What to pack | Why it matters |
|---|---|---|
| Shelter | Tent, footprint or groundsheet, pegs, guy lines, mallet | Protects you from rain, wind, and damp ground |
| Sleep | Sleeping bag, sleeping mat or airbed, pillow, spare blanket if needed | Warmth and comfort are what make the next day enjoyable |
| Cooking | Stove, fuel, lighter, pan, mug, utensils, cutting board, cooler or food box | Keeps meals simple and manageable on site |
| Clothing | Layers, waterproof jacket, dry socks, sleepwear, sturdy shoes | British weather can shift from mild to wet very quickly |
| Safety and light | Headtorch, torch, power bank, first aid kit, phone charger | Makes setup, walking, and small problems easier to handle |
| Hygiene and tidy-up | Toiletries, hand sanitiser, toilet paper, bin bags, towels | Useful on basic campsites and essential for leaving no mess behind |
That is the minimum framework I trust. Once the structure is clear, the next step is choosing the right shelter and sleep gear, because that is where comfort is won or lost.
Shelter and sleep gear that keeps the night comfortable
If I had to prioritise only one part of the kit, I would start here. A decent tent is not just a roof; it is your windbreak, your dry room, your changing space, and often your only refuge when the rain starts moving sideways. For the UK, I look for a tent that handles wet weather sensibly, with good ventilation and a waterproof flysheet.
Hydrostatic head is the waterproof rating used for tent fabric. In plain English, it tells you how much water pressure the fabric can take before leaking. For British conditions, I generally prefer a flysheet around 3,000 mm or better, especially if you camp in spring or autumn. That is not a magic guarantee, but it is a sensible benchmark for rain that seems to arrive without warning.
- Tent: choose a size slightly larger than you think you need so sleeping bags, bags, and boots do not crowd the living space.
- Groundsheet or footprint: adds a layer of protection under the tent and helps reduce wear from rough ground.
- Pegs and mallet: bring strong pegs and a proper mallet, because soft grass, stony pitches, and hard summer ground all behave differently.
- Guy lines: these are the tension cords that stabilise the tent in wind. They matter more than beginners usually realise.
- Sleeping bag: pick a season rating that matches the coldest nights you expect, not just the daytime forecast.
- Sleeping mat or airbed: insulation matters as much as softness. A mat with a decent R-value helps keep ground chill away from your body.
- Pillow: a proper camping pillow packs down well and makes a bigger difference than most people expect after a long day outdoors.
- Repair kit: a few patches, spare tape, and a pole sleeve can save a trip if something tears or bends.
For family trips, I usually treat the sleep system as the place to spend the most attention, not the most money. If the bed is poor, the rest of the camp feels harder. Once that is sorted, the next thing people notice is how much easier the trip becomes with a simple, tidy kitchen setup.
Food and kitchen gear for simple campsite meals
The best camp meals are rarely complicated. They are warm, fast, and easy to clean up after. I prefer a setup that lets me make breakfast, lunch, and one proper evening meal without dragging half the kitchen out of the house. That keeps the pitch calmer and reduces the pile of dirty items at the end of the day.
- Camping stove and fuel: check campsite rules before you leave, because some places restrict flames or have specific cooking rules.
- Lighter and backup matches: keep both in a dry bag or small container.
- One pot and one pan: enough for most meals unless you are cooking for a large group.
- Plate, mug, bowl, and cutlery: a minimal set for each person is usually enough.
- Sharp knife and cutting board: useful for fruit, vegetables, cheese, and simple prep.
- Cool box or food bag: helps protect chilled items and keeps food organised.
- Water bottles or water container: bring more water than you think you will need if the site has limited facilities.
- Washing-up kit: sponge, tea towel, small bottle of soap, and a washing-up bowl if the campsite is basic.
- Food storage: clip-top boxes, reusable bags, and foil keep ingredients from turning into a mess.
- Rubbish and recycling bags: simple, but they keep the pitch clean and save you from last-minute chaos.
My rule is simple: if it takes more than a few minutes to prepare or clean, it is probably too ambitious for a first camp. That approach also leaves room for the one thing British campers always end up appreciating sooner or later, which is a dry, practical clothing system.
Clothing and weather protection for British campsites
Clothing is where people often overpack and underprepare at the same time. They bring too many casual clothes, then discover they do not have enough to deal with rain, damp grass, or cold evenings. I would rather pack fewer items that dry quickly and layer well than carry a full bag of clothes that never quite do the job.
Cotton is the weak link on many camping trips. It feels fine when dry, but it holds moisture and loses warmth fast once it gets wet. Synthetic or wool layers are usually a better choice because they dry faster and stay more comfortable.
- Base layer: moisture-wicking top and underwear for active days.
- Mid-layer: fleece or light insulated jacket for evenings.
- Outer layer: waterproof jacket and, if needed, waterproof trousers.
- Walking shoes or boots: choose footwear that can handle muddy paths and wet grass.
- Extra socks: at least one dry spare pair per day is a good habit.
- Sleepwear: keep one dedicated set clean and dry for the tent.
- Hat and sun protection: useful even on days that start cloudy.
- Light gloves or buff: small items, but very welcome on breezy evenings.
For family camping, I also like to pack one fully dry change of clothes in a separate bag for each child. It is a small move that saves a lot of frustration if anyone gets soaked or muddy during the afternoon. After clothing comes the gear that solves the problems people only notice when they are already on site.
Light, safety, and the small items that save a trip
The smallest items are often the ones that prevent the biggest headaches. A headtorch sounds boring until you are trying to pitch a tent in drizzle while holding pegs in one hand and guy lines in the other. Likewise, a power bank is forgettable until your phone battery is low and you still need the campsite map, a booking confirmation, or a torch.
- Headtorch: better than a phone light because it leaves both hands free.
- Lantern or small camp light: useful for cooking or sitting together after dark.
- Extra batteries or charged power bank: cheap insurance against dead lights and dead phones.
- First aid kit: include plasters, antiseptic wipes, blister care, pain relief, and any prescription medicines.
- Map and compass or offline navigation: still useful if you plan to walk beyond the campsite.
- Hand sanitiser and toilet paper: essential on basic sites, and handy even on well-equipped ones.
- Bin bags: useful for rubbish, wet clothes, and separating muddy items from clean ones.
- Repair tape or duct tape: one of the most practical items in any camp kit.
- Paracord or spare cord: handy for drying lines, repairs, or quick fixes.
- Multi-tool: useful when you need to tighten, cut, open, or adjust something quickly.
I would rather carry a few genuinely useful extras than a bag full of comfort gear that looks good in the garage and rarely gets used. That leads directly to the mistakes I see most often on first tent trips, because they are usually the result of packing for the wrong priorities.
The mistakes that turn a simple camp into a frustrating one
Most bad camping trips are not ruined by one dramatic failure. They are worn down by small omissions. The tent leaks a little, the mat is thin, the socks stay damp, the torch is buried in the bottom of a bag, and suddenly the whole weekend feels harder than it needed to be.
- Overpacking clothes: bring usable layers, not a new outfit for every possible mood.
- Choosing comfort over insulation: a soft airbed is not enough if it leaves you cold from underneath.
- Forgetting to test the tent: pitching it once at home can expose broken poles, missing pegs, or confusing instructions.
- Ignoring campsite facilities: some sites provide water, toilets, and power; others do not, and the difference matters.
- Relying on one light source: a spare torch or backup battery is worth carrying every time.
- Not separating wet and dry gear: a single dry bag or bin bag can stop the whole tent from feeling damp.
The useful lesson here is that a strong setup is not about owning more kit. It is about owning the right kit and knowing where each item lives when you need it. That becomes very clear when you pack by order of use rather than by habit.
Pack it in the order you will use it at camp
When I pack for a weekend under canvas, I think in stages: arrival, setup, evening, night, and morning. That order keeps the bag logical and stops essential items from getting buried under things that only matter later.
- Shelter first: tent, pegs, footprint, mallet, and guy lines go together so pitching is fast when you arrive.
- Sleep system next: bag, mat, pillow, and any extra blanket belong in one section.
- Cooking kit after that: stove, fuel, cookware, utensils, and washing-up items should be easy to reach.
- Clothing and waterproofs: keep dry layers, socks, and sleepwear separate from anything muddy or wet.
- Light and safety items: torch, headtorch, power bank, first aid, and medicines should never be packed deep in the bag.
- Comfort extras last: chairs, books, games, or a blanket are useful, but they should not block access to the essentials.
For a one-night family camp, I keep the setup deliberately lean: shelter, sleep, food, dry layers, and light. For a longer stay, I add a few comfort items, but I do not let them crowd out the core kit. That is the version of camping that stays pleasant when the weather changes, which is exactly what a good camp should do.