What you need to get right before the first long walk
- Start indoors, then move to short walks, and only later add uneven ground and a daypack.
- Wear the socks you will actually hike in, and avoid cotton.
- A little heel slip can be normal at first, but obvious rubbing or toe pain is a fit problem.
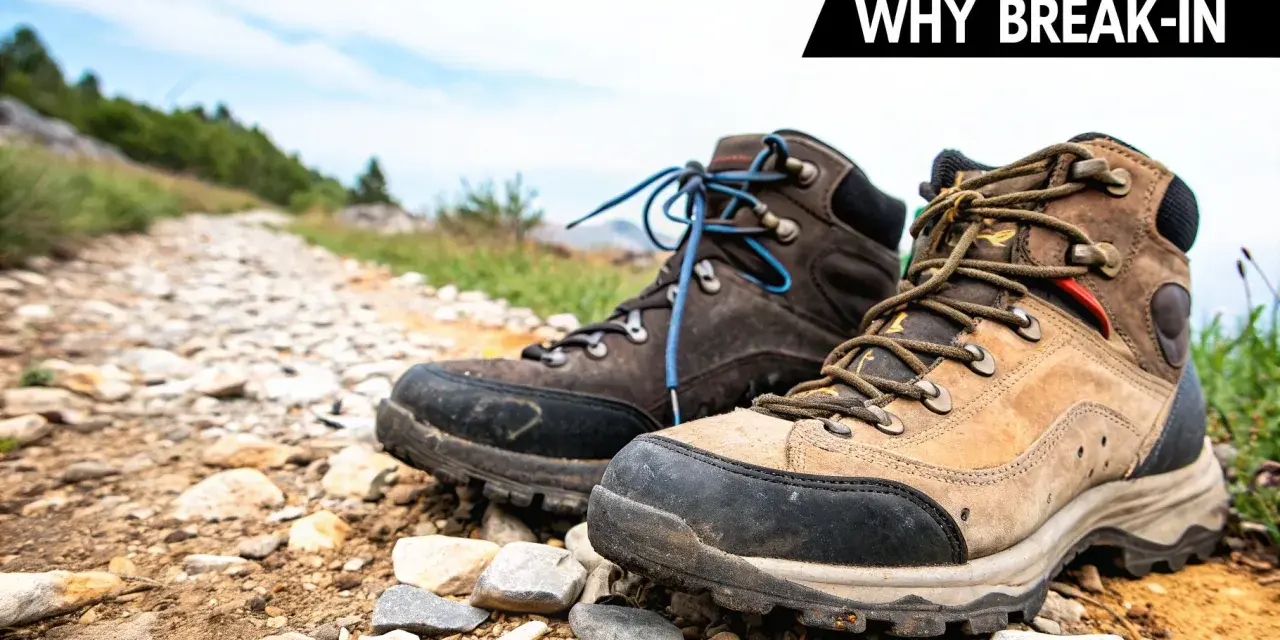
- Lightweight synthetic boots may settle quickly, while stiff leather boots often need more time.
- Good lacing can solve heel lift and pressure points before they become blisters.
- Do not soak, heat, or force a long hike in the first few wears.
Fit is the part you cannot break in
Before I talk about softening materials, I want to be blunt about the part that matters most: a break-in routine will not rescue the wrong size. If the boot is too short, too narrow, or shaped badly for your foot, the miles will only expose the problem more clearly. The aim is to let the boot conform a little, not to convince your toes to tolerate a bad fit.
Cotswold Outdoor notes that a small amount of heel slip, up to about 1/4 inch, can be normal in new boots, but it should reduce as the pair settles. That is the level of movement I am willing to accept at first. If the heel is lifting more than that, or the flex point sits in the wrong place and pinches the ball of your foot, I treat it as a sizing or shape issue rather than something time will fix.
- Toe room: you should be able to move your toes without them smashing into the front on descents.
- Heel hold: some movement at first is fine, but repeated lifting usually means the boot is too big or the lacing is wrong.
- Flex point: the boot should bend where your foot bends, not fight the front of your foot.
- Width: pressure across the sides of the forefoot is a warning sign, especially if it appears in both boots.
Once the fit is sensible, the boot can start to adapt with wear. That is when a gradual break-in plan becomes useful, which is where I would start next.
A gradual break-in schedule that actually works
REI’s advice is sensible because it starts with the easiest environment and only adds stress when the previous step feels comfortable. I use the same logic: short sessions first, then a bit of pavement, then uneven ground, then the kind of walk where you would normally trust the boots for a full day.
| Stage | Where | How long | What I am checking |
|---|---|---|---|
| 1. Indoor wear | At home on clean floors | 20 to 30 minutes | Hot spots, toe room, heel hold, lace pressure |
| 2. Short local walk | Street, path, or around the block | 30 to 60 minutes | How the boot feels in motion and on kerbs or stairs |
| 3. Uneven ground | Park, woodland, or a gentle hill | 1 to 2 hours | Flex, stability, and whether the foot slides on descents |
| 4. Proper day hike | Real trail with your usual socks and pack | 3 to 5 hours | Whether the boots stay comfortable under real effort |
I like to think of the first two outings as a diagnosis stage. If I feel a hotspot on minute 15, I do not push through it and hope for the best. I stop, adjust, and learn something. If the same spot hurts again on the next short walk, I already know that the issue is probably lacing, sock choice, or boot shape rather than a lack of miles.
Light hikers may feel fine very quickly, while burly leather models can need weeks of gentle wear. That is normal. The key is to build up the load gradually, not to test your patience against a stiff boot on day one. From there, the next biggest comfort gains usually come from how you lace and what you put on your feet.
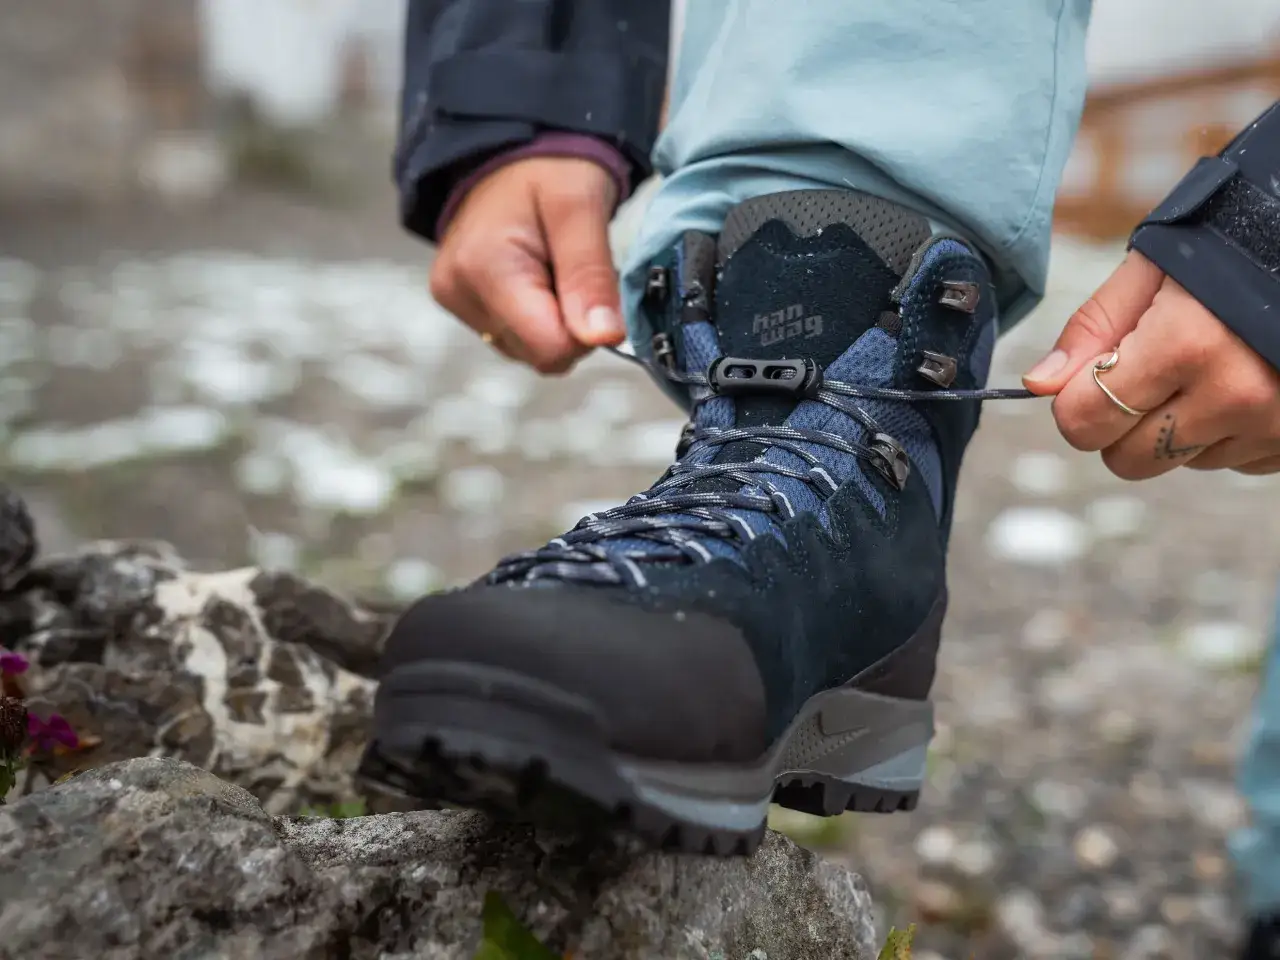
Lacing and sock tweaks that solve most hot spots
Most people reach for blister tape too early. I usually reach for the laces first, because a small adjustment there often fixes the real cause of the problem. A boot can feel wrong simply because the heel is lifting, the instep is pinched, or the forefoot is locked down too tightly.
- Heel lock lacing: useful when your heel slides on climbs or descents. It holds the rear of the foot more firmly without crushing the toes.
- Window lacing: useful when the laces press hard across the top of the foot. Leaving a small gap relieves pressure over the instep.
- Toe-relief lacing: useful when the front of the boot feels tight or your toes are taking a beating on downhills.
- Technical socks: choose moisture-wicking hiking socks rather than cotton, because damp fabric creates friction fast.
- Insoles or footbeds: worth trying if the boot is close to right but needs a bit more arch support or a slightly different volume.
The best socks are not always the thickest ones. A heavier sock can improve comfort in some boots, but in others it steals volume and makes the fit worse. I would rather use a well-fitting technical sock and adjust the lacing than hide a poor fit under extra padding. If your foot is still moving inside the boot, the sock is not the solution.
These small fixes matter most on real terrain, because walking downhill exposes problems faster than flat ground does. That is why the next section is about the boot itself, not just the way you wear it.
Material and boot style change the timeline
Not all hiking boots need the same amount of break-in. A light synthetic boot and a stiff full-grain leather backpacking boot live in different worlds, and I would never give them the same timetable. The more structured the boot, the more patience it usually needs.
| Boot type | Typical break-in feel | What that usually means |
|---|---|---|
| Lightweight synthetic hiking boots | Often comfortable quickly | May need only a few short wears before they feel settled |
| Nubuck or suede blend boots | Moderately stiff at first | Usually soften over several short walks |
| Full-grain leather backpacking boots | Stiffest and slowest to settle | Can take days or weeks of regular wear before they feel truly familiar |
The upper material softens, the lining settles, and the boot starts to move with your stride instead of against it. Waterproof membranes do not really “break in” in the same way, so if the boot still feels clunky after several wears, the issue is more likely the cut, stiffness, or fit than the waterproofing itself. A comfortable boot does not need to become soft like a trainer, but it should stop feeling like a block of gear around your foot.
That is why I like boots that become predictable rather than dramatic. If the boot is still fighting you after a sensible amount of wear, it is time to look at what is making the problem worse.
Mistakes that make new boots worse
Some shortcuts create more trouble than they solve. I see the same mistakes again and again, and most of them come from impatience.
- Taking the first wear on a long hike: this is how small hot spots turn into blisters.
- Soaking the boots: water can damage materials and the method does not guarantee a better fit.
- Using direct heat: radiators, hairdryers, and similar tricks can be harsh on adhesives and uppers.
- Over-tightening the laces: if you strangle the instep to kill heel slip, you often create numbness instead.
- Ignoring repeated pain: if the same area hurts on two or three short walks, the boot is probably telling you something important.
- Assuming thick socks fix everything: extra padding can hide a problem for an hour and make it worse for the rest of the day.
REI is right to warn against soaking boots and then walking long distances in them. That is the kind of shortcut that feels clever for ten minutes and expensive for the next ten miles. If a boot needs rescue after a few short outings, I would rather pause and solve the fit properly than keep forcing it.
Once you stop doing the wrong things, it becomes much easier to notice when the boots are actually ready for a proper walk.
The last checks before the trail gets real
Before I trust new boots on a full day out, I want them to pass a few simple tests. None of these are glamorous, but they are honest, and honesty is what saves feet on muddy paths and long descents.- I can wear them for 60 to 90 minutes without developing a hotspot.
- My toes do not slam into the front when I walk downhill.
- The heel stays controlled with my normal hiking socks.
- I can tighten the laces for stability without numbing the top of my foot.
- The boots still feel comfortable when I carry the pack I actually plan to use.
If those checks are all passing, I am comfortable taking the boots onto a proper route, whether that is a family day on a coastal path or a longer walk through wet, uneven ground. If they are not passing, I do not keep bargaining with the boots. I change the lacing, try a different insole, or accept that the size or shape is wrong. The best result is not a boot that hurts less over time, but one that disappears under you when the walk starts to matter.