Fire-cooked apples are one of the easiest campsite desserts to get right, and they feel much more luxurious than the effort they take. These campfire apples work best as a warm, spiced fruit dessert: simple ingredients, gentle heat, and just enough sugar to bring out the apple’s own flavour. In this guide I cover the best apples to use, the foil-packet method I trust, realistic cooking times, and the small mistakes that turn a good dessert soggy or scorched.
The quick version that matters before you light the fire
- Choose firm, slightly tart apples for the cleanest result and the best texture over heat.
- Cook on embers or settled coals; active flames are too aggressive for fruit.
- Whole stuffed apples feel classic, while sliced packets are faster and easier for children.
- A basic filling needs butter, light brown sugar, cinnamon, and a pinch of salt.
- Most versions are ready in 15 to 25 minutes, depending on size and fire strength.
- Double-wrap the foil and use tongs, because hot sugar and steam can burn fast.
Why this dessert works so well at camp
I like desserts that forgive imperfect heat, and this is one of them. Apples already contain plenty of moisture, so they soften before they collapse, and the sugar-butter filling turns into a light syrup that tastes more complex than the ingredient list suggests. If you season it properly, even a very basic packet tastes like proper comfort food rather than an afterthought.
The other reason it works is practical: the prep is small, the cleanup is smaller, and you can do most of the thinking before the fire is even ready. I usually mix the dry filling at home, pack the foil, and keep the apples whole until I am close to cooking time. That makes the whole process much calmer at the campsite, which matters when dinner, weather, and children are all happening at once.
The next decision is the fruit itself, because that is where the texture either becomes excellent or turns mushy.
How to choose the right apples for the fire
In the UK, I reach for Bramley when I want a sharper, more spoonable filling, but Braeburn and Pink Lady hold their shape better if I want neat wedges or a cleaner whole-apple result. For outdoor cooking, I prefer fruit that is firm, heavy for its size, and free from bruising. If an apple is already soft before it meets the fire, it will move quickly from tender to collapsed.
| Apple variety | Flavour | How it cooks | Best use |
|---|---|---|---|
| Bramley | Sharp, tart, classic cooking flavour | Breaks down more and turns soft quickly | Rich, spoonable filling and sliced packets |
| Braeburn | Sweet-tart and balanced | Holds shape well | Whole stuffed apples and tidy wedges |
| Pink Lady | Crisp, sweet-tart, bright | Very firm, so it stays structured | Packets where you want the fruit to keep its bite |
| Granny Smith | Very tart and punchy | Stays neat and gives a clean finish | Classic fire-roasted apples with a sharper edge |
| Cox’s Orange Pippin | Fragrant, slightly softer, aromatic | Can soften sooner than firmer varieties | Best if you like a gentler, more mellow result |
I would avoid anything bruised, floury, or overripe if you want a presentable dessert. For a family campsite, medium apples are usually the sweet spot, because they cook through without demanding a long wait. Once the fruit is right, the recipe itself is straightforward.
The foil packet method I trust most
This is the version I use when I want something reliable and low-fuss. It is simple enough for a first-night camp dinner, but it still tastes thoughtful if you serve it with yoghurt, cream, or even just a spoon straight from the foil. The key is to keep the seasoning tight and the packet sealed so the fruit steams rather than dries out.
| Ingredient | Amount for 4 apples | Why it matters |
|---|---|---|
| Firm apples | 4 medium | The base of the dessert |
| Light brown sugar | 40 g, about 4 tbsp | Melts into the juices and makes the filling glossy |
| Butter | 30 g, cut into 4 small pieces | Adds richness and helps the sugar melt evenly |
| Ground cinnamon | 1 tsp | Gives the dessert its warm, familiar aroma |
| Fine salt | 1 pinch | Stops the sweetness tasting flat |
| Sultanas or raisins | 2 tbsp | Optional, but they work well with the softened apple |
| Chopped nuts or oats | 2 tbsp | Optional texture if you want more bite |
- Mix the sugar, cinnamon, salt, and any dried fruit in a small bowl or jar.
- Core each apple, but leave the base intact so the filling does not leak straight out.
- Spoon the filling into the centre of each apple and add a little piece of butter on top.
- Wrap each apple in a double layer of heavy-duty aluminium foil, sealing it tightly and twisting the top into a small handle if you want easier lifting.
- Set the packets on a bed of embers or on a grill over coals, not directly in open flames.
- Cook for 15 to 25 minutes, turning once halfway through, until the apple is tender when pierced with a skewer.
- Leave the packet to rest for a minute before opening, because the steam inside will be very hot.
I usually taste the syrup before serving and adjust the topping at the table rather than overloading the filling in advance. If you want a faster version, slicing the apples is often the better route, especially when the fire is not perfectly even.
Whole apples or sliced packets
Both approaches work, but they give you different results. Whole apples feel more traditional and look better when you want a simple campsite dessert with a bit of theatre. Sliced packets are quicker, easier to portion, and less demanding if the fire is still settling.
| Method | Approximate time | Texture | Best for | Trade-off |
|---|---|---|---|---|
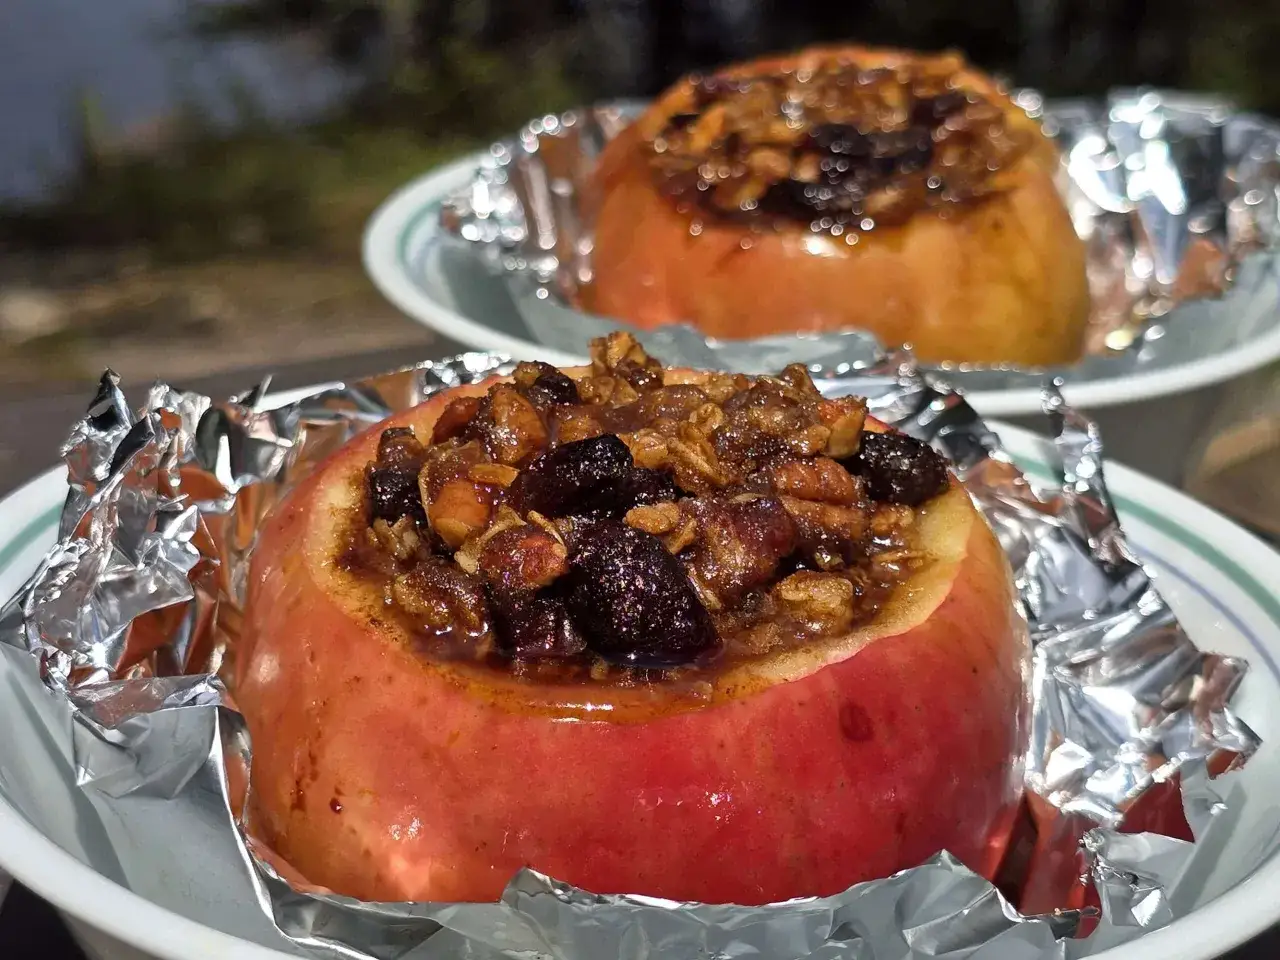
| Whole stuffed apples | 20 to 30 minutes | Soft centre, intact shape | Relaxed evenings and a more classic dessert feel | Needs careful coring and a steadier fire |
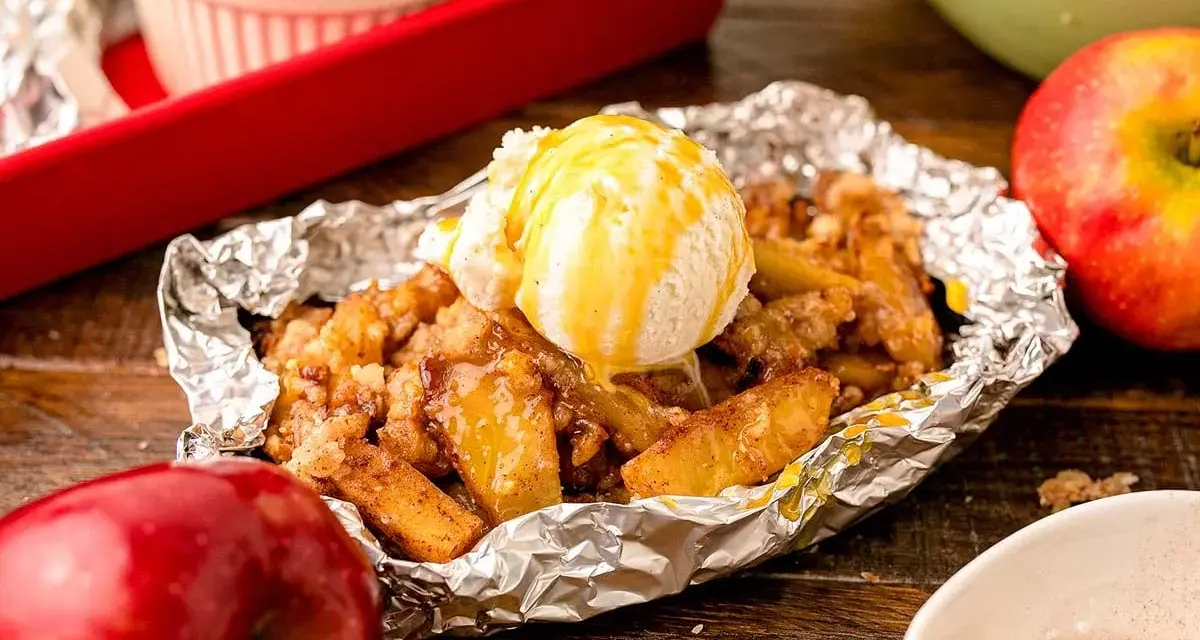
| Sliced foil packets | 10 to 15 minutes | Tender, glossy, almost compote-like | Families, fast dessert service, and smaller fires | Less dramatic presentation |
If I am cooking for children, I often slice the apples into wedges about 1 cm thick, toss them with the sugar mixture, dot with butter, and seal them in a packet. That version is quicker, easier to eat, and less likely to be underdone in the middle. If I want the dessert to feel like an occasion, I stick with whole apples and let the centre turn soft and syrupy.
The one thing that changes everything is the heat, so the next step is learning how to manage the fire instead of fighting it.
How to manage heat without scorching the fruit
The most common mistake is putting fruit over flames that are still licking high. Apples need steady radiant heat, not a dramatic blast. I aim for a settled bed of embers, because that gives the packet time to steam through before the sugar at the edges catches and turns bitter.
- Wait until the fire has calmed and the flames have dropped.
- Use long tongs or a heatproof glove, because the foil stays hot after you move it.
- Turn the packet once halfway through cooking for a more even finish.
- Lift one packet and test with a skewer if the apples are not all the same size.
- If the fire is too fierce, move the packet to the edge of the heat rather than adding more foil alone.
- If open fires are restricted on your campsite, a barbecue with the lid down gives a similar effect and is often easier to control.
There is one more detail that matters: steam burns are usually worse than the fire itself. Open the packet away from your face, let the steam escape, and give the fruit a minute before serving. That small pause makes the whole process feel much safer and more manageable.
Flavour twists that suit family camping and a softer Provençal mood
Once the basic method is under control, I like to adapt it without making the dessert fussy. The best variations are the ones that keep the same structure but change the finish. That way you can stay close to the campsite rhythm while still making the dessert feel a little different each time.
- Classic cinnamon and sultanas for the most familiar, crowd-pleasing result.
- Apple, oat, and nut crumble packets if you want a little crunch without bringing a full pudding.
- Honey and thyme for a lighter, more Provençal-style finish that works well with Braeburn or Pink Lady.
- Blackberry and apple when late-summer fruit is in season and you want a more British campsite feel.
- Ginger and orange zest for a brighter, sharper dessert that cuts through a rich dinner.
For serving, I keep it simple. A spoonful of thick yoghurt works well when you want something fresh, while cream gives a softer, richer finish. If you have custard, it is hard to argue against that either, but I would not bother with anything that adds more work than the apple already deserves.
The variations matter because they let you keep the method constant and still make the dessert feel new, which is exactly what good camp cooking should do.
What I keep in my camp dessert kit
I try to keep the kit minimal, because the more moving parts a campsite recipe needs, the less likely it is to happen on a real night when everyone is tired. My standard setup is enough to make the dessert repeatable without feeling like a kitchen has been packed into a rucksack.
- 4 firm apples
- A small jar of pre-mixed sugar, cinnamon, and salt
- A little butter kept cool until cooking time
- Heavy-duty aluminium foil
- Long tongs or heatproof gloves
- A small knife or corer
- Optional extras such as sultanas, oats, chopped nuts, or lemon zest
I also like to prep as much as possible before the fire is fully ready. Mixing the filling at home, keeping the apples dry, and packing a sharp knife separately saves time at the campsite and reduces mess. That is usually enough to turn these campfire apples into a dependable dessert: little prep, low waste, and a result that feels warmer and more generous than the ingredient list suggests. If you keep the fire to embers, choose firm fruit, and stop cooking as soon as the apple yields to a skewer, the dessert will do exactly what it should.