Use firm apples, steady coals, and a lid that vents slightly
- Cook over glowing coals, not open flames, or the butter and sugar will burn before the fruit softens.
- A 20 to 25 cm cast-iron skillet gives the best balance of crisp topping and easy handling.
- For the strongest flavour, I like a mix of Bramley apples and a sweeter eating apple such as Braeburn or Cox's Orange Pippin.
- Expect about 20 to 30 minutes of cooking time, plus 5 minutes of resting before serving.
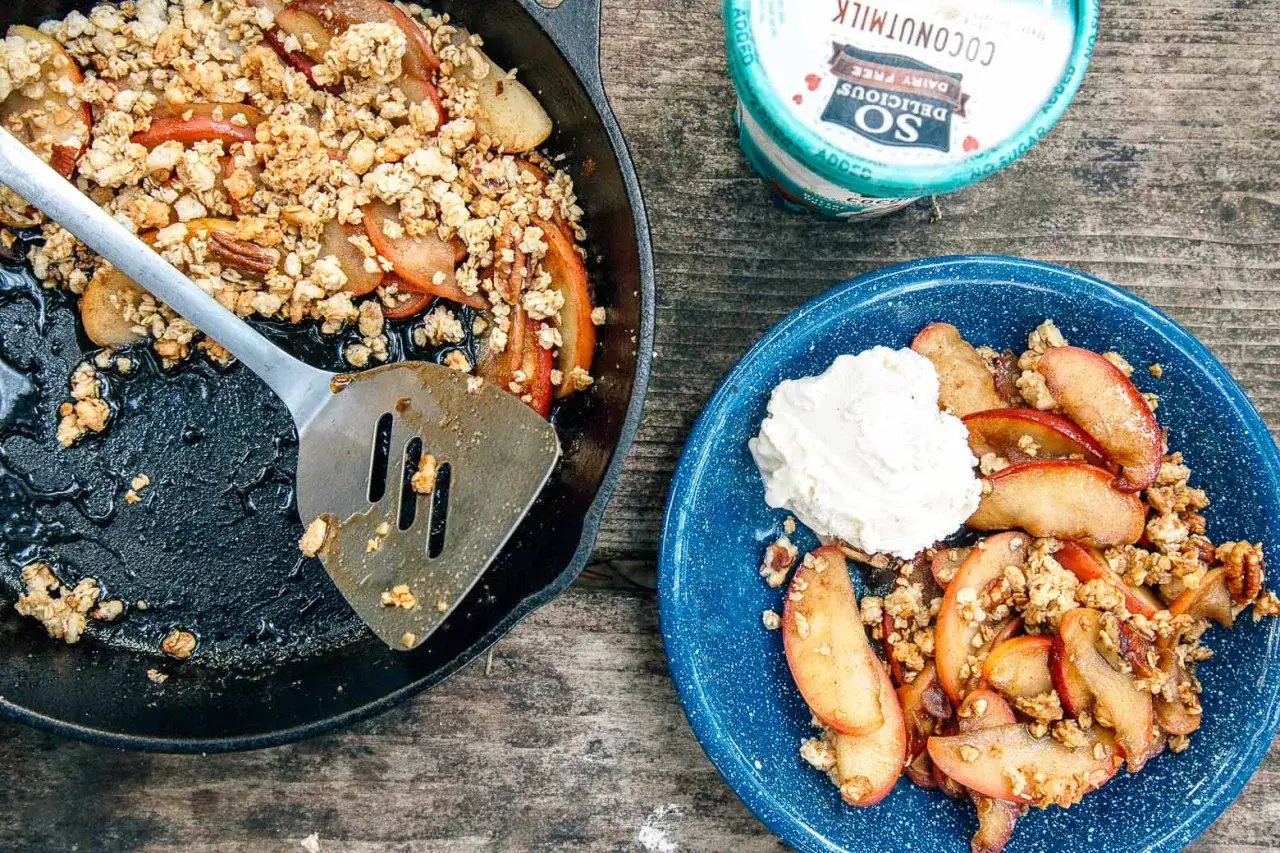
- Custard, single cream, or vanilla ice cream turns the finished dessert into a proper campsite treat.
Why this dessert works so well by the fire
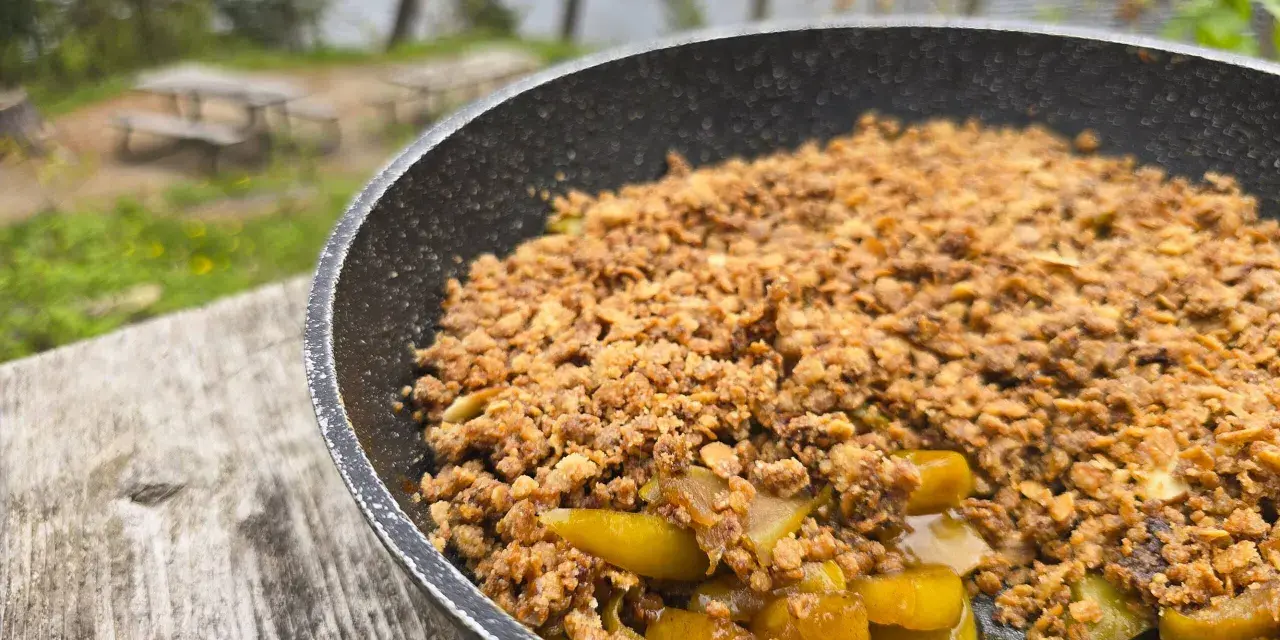
A good camp dessert has to be forgiving, and baked apples with a crumble topping are exactly that. The fruit softens in its own juices, the oats toast at the edge of the pan, and the whole thing tolerates a little roughness from the fire better than a pie ever would. I also like that you can make it in one skillet, which matters when you do not want a stack of washing-up after supper.
The main rule is simple: heat should be steady, not aggressive. If the pan sits over flames, the sugars darken too fast and the topping tastes bitter. When it sits over coals, the apple filling gets tender at the same pace that the crumble turns golden, and that balance is what makes the dessert worth making. Next, I would focus on the right ingredients and kit, because that is where most campsite disappointments start.
The ingredients and kit I would pack
I keep the recipe short on purpose. Camp cooking rewards ingredients that do several jobs at once: the fruit needs to flavour itself, the topping needs to crisp without special equipment, and the spices need to stay in the background rather than take over.
| Ingredient | Amount | Why it matters |
|---|---|---|
| Cooking apples | 4 large, about 800 g | They hold enough structure to stay interesting after heating. |
| Lemon juice | 1 tbsp | Brightens the filling and stops the slices browning too fast. |
| Light brown sugar or demerara sugar | 3 tbsp for the fruit, 60 g for the topping | Gives caramel flavour without making the filling wet. |
| Ground cinnamon | 1 tsp | Keeps the flavour familiar and warm. |
| Plain flour | 1 tbsp for the fruit, 60 g for the topping | Thickens the juices and helps the crumble hold together. |
| Rolled oats | 90 g | Creates the crisp texture. |
| Cold butter | 105 g total | 70 g for the topping and 35 g for the fruit keeps the dessert rich but not greasy. |
| Pinch of salt | 1 | Balances the sweetness. |
| Optional chopped nuts | 30 g | Hazelnuts or pecans add crunch if you want extra texture. |
- 20 to 25 cm cast-iron skillet, or a small Dutch oven if you are feeding a bigger group
- Lid, or heavy-duty foil with a few steam holes
- Long tongs and heatproof gloves
- Sharp knife, chopping board, and a spoon
If your campsite does not allow open fires, the same setup works on a barbecue or camp stove with a lid; you just lose a little of the smoky edge. Once the kit is sorted, the method is straightforward, and the fire becomes much easier to manage.
How I cook it over coals without burning the topping
- Build your fire until you have a bed of glowing coals with very little flame. That is the temperature zone I want, because coals give gentler, more even heat.
- Lightly butter the skillet. Peel the apples if you want a softer filling, or leave the skin on for a bit more texture. Slice them about 1 cm thick, then toss them with lemon juice, 3 tbsp of sugar, the cinnamon, 1 tbsp of flour, and 35 g of butter in small pieces.
- Mix the topping in a bowl or tin. Rub the oats, flour, 60 g sugar, salt, and 70 g cold butter together until you get a rough crumble. If you are using nuts, stir them in at the end.
- Spread the fruit in the skillet and scatter the topping evenly over it. Do not press it down; loose crumbs brown better than a compact layer.
- Cover loosely with a lid or foil. Leave a tiny vent so steam can escape, because trapped steam is what turns a crisp into a soft pudding.
- Set the pan over indirect heat, not directly in the flames. Cook for 20 to 30 minutes, turning the skillet once or twice so the bottom does not overcolour. The dessert is ready when the apples are tender and the filling bubbles around the edges.
- Rest it for 5 minutes before serving. That short pause lets the juices settle and makes the spoonfuls hold together better.
If I am cooking in a Dutch oven, I give it a little more time and a little more patience, because the heavier pot holds heat differently. The payoff is a more even bake, but the skillet usually gives me the better topping, so that is the version I choose when I want the crisp to taste lively rather than just soft.
Which apples give the best texture
The apple choice changes the dessert more than the cinnamon does. Some apples collapse into sauce, some stay too firm, and the sweet spot sits in the middle. In the UK, I usually reach for Bramleys first because they give the filling a clean, bright flavour, then I mix them with a sweeter apple so the fruit does not taste too sharp once it has been cooked.
| Apple type | What happens when cooked | Best use |
|---|---|---|
| Bramley | Breaks down quickly and turns soft | Use with a sweeter apple if you want a classic British-style filling |
| Braeburn | Stays fairly firm and keeps its shape | Good all-rounder for campsites because it is easy to manage |
| Cox's Orange Pippin | Medium-firm with a fragrant flavour | Best when you want more apple character and less plain sweetness |
| Pink Lady | Sweet-tart and still a little firm after heating | Useful if the fruit needs to sit in the pan for a while |
My own preference is a 50/50 mix of Bramley and Braeburn. That combination gives you softness without losing all bite, and it works especially well if you plan to serve the dessert with custard. Once the fruit choice makes sense, the rest of the recipe becomes a matter of small, useful variations.
Simple variations that fit a family camping trip
I do not think camp desserts need to be complicated to feel generous. A few thoughtful changes are enough to suit different diets, different fire setups, and the reality of packing for a family trip.
- For a more British flavour, add 1 tsp of ground ginger and serve with warm custard instead of ice cream.
- For a dairy-free version, swap the butter for a firm plant butter. Coconut oil works too, but it gives the topping a slightly different flavour.
- For a gluten-free version, use certified gluten-free oats and replace the flour with a gluten-free plain blend or rice flour.
- For a faster version, use 120 g of granola instead of making a separate crumble topping. It is less classic, but it saves time and still gives a good crunch.
- For extra fruit, add up to 100 g of blackberries or a small pear. I would not go much beyond that, because too much added fruit makes the filling loose.
These variations work because they keep the structure of the dessert intact. If you change too many things at once, you stop improving the recipe and start making it harder to control, which leads straight into the mistakes I see most often around campfires.
Common mistakes that turn it soggy or burnt
Most problems with a campfire fruit dessert come from heat, not from the recipe itself. I keep an eye on a handful of things every time I make it, because each one changes the result in a very visible way.
- Using open flames will scorch the sugar before the apples soften. Wait for coals.
- Cutting the apples too thin makes them collapse into puree. Aim for slices about 1 cm thick.
- Sealing the pan too tightly traps steam and softens the topping. Leave a small vent.
- Adding too much butter turns the crumble greasy rather than crisp.
- Skipping the rest time lets the filling run everywhere the moment you spoon it out.
If the fire is hot and uneven, I do not try to save time by pushing the pan deeper into the coals. I move the skillet to a gentler spot and let it cook properly, because a slower bake almost always gives a better texture. That leads naturally to the final question: how to make the dessert feel finished when it reaches the table.
The little things I pack to make it feel like a proper campsite dessert
I think the difference between a decent camp dessert and a memorable one often comes from the last 10 percent. A spoonful of custard, a clean serving board, and a pan that is easy to carry matter more than one more spice blend. On a family trip, I like to keep the finish simple and practical.
- UHT custard, single cream, or vanilla ice cream if the cooler space allows it
- A wooden spoon or heatproof spatula for serving straight from the skillet
- A trivet, chopping board, or folded tea towel for the hot pan
- One extra apple and a small handful of oats in case the pan is larger than expected
- A pinch of vanilla sugar or cinnamon for the final dusting
If I had to reduce the whole recipe to one sentence, I would say this: keep the fire gentle, choose firm fruit, and do not rush the topping. That is enough to turn a simple skillet of baked apples into a dessert people remember, and it is exactly the kind of campsite win I like to repeat.