Knowing how to pack a cooler well matters more than buying a bigger box. The goal is simple: keep chilled food below 5°C, stop warm air from sneaking in every time the lid opens, and make camp meals easy to reach without turning everything into a soggy pile. In this guide, I focus on the packing order, the cold sources that actually help, and the campsite habits that keep food safe for longer.
The essentials before you load the lid
- Choose a hard-sided cool box for longer family trips and a separate drinks cooler if people will keep opening it.
- Pre-chill the cooler and the food so the ice starts from a cold base, not a warm one.
- Use frozen bottles, block ice, or gel packs to reduce empty space and slow melting.
- Keep raw food, ready-to-eat items, and snacks in separate sealed containers.
- Shade the cooler, open it quickly, and check that food stays below 5°C.
Start with the right cooler for the trip
I always start here because the box itself sets the ceiling for everything else. A hard-sided cooler is usually the better choice for a weekend away, a family pitch, or any trip where meat, dairy, and leftovers need to stay properly cold. A soft cooler is lighter and easier to carry, but it is better for short outings than for a campsite where the lid will be opened all day.
| Cooler type | Best use | Why I like it | Main limitation |
|---|---|---|---|
| Hard-sided cool box | Weekend camping, family meals, perishable food | Better insulation and a tighter seal | Heavier and bulkier when full |
| Soft cooler | Lunches, day trips, short drives | Light and easy to carry | Less ice retention over time |
| Separate drinks cooler | Group trips and busy campsites | Keeps the main food cooler closed for longer | One more item to pack |
| Camping fridge | Serviced pitches with mains hook-up | Most reliable option for longer stays | Needs power and usually costs more |
If your campsite has electricity, I would seriously consider a camping fridge for a longer stay. The Food Standards Agency is clear that a cool box is fine for short trips, but it is not a long-term replacement for proper refrigeration. Once the container is right, the next win is starting with everything cold.
Chill everything before it leaves the kitchen
I treat this as non-negotiable. Warm food steals cold from the ice, which means you waste the first part of the trip cooling the contents down instead of preserving them. The simplest fix is to pack straight from the fridge or freezer and give the empty cooler a head start the night before with ice packs or frozen bottles.
| What I chill | How I prep it | Why it helps |
|---|---|---|
| Water bottles | Freeze them solid before departure | They act as ice and become drinking water later |
| Meat and fish | Keep in leakproof bags or tubs and freeze if the menu allows | They stay colder longer and are less likely to leak |
| Dairy and leftovers | Put them straight from the fridge into the cooler | They start below the safe limit instead of warming from room temperature |
| Fruit and snacks | Pre-cut and seal in containers | They are faster to grab and less likely to get crushed |
| Ice packs or block ice | Chill overnight before use | They remove heat from the cooler before the trip starts |
I also like to think in terms of layers of cold, not just a pile of food. That makes the next step much easier, because a packed cooler works best when the coldest items are placed where they can do the most work.
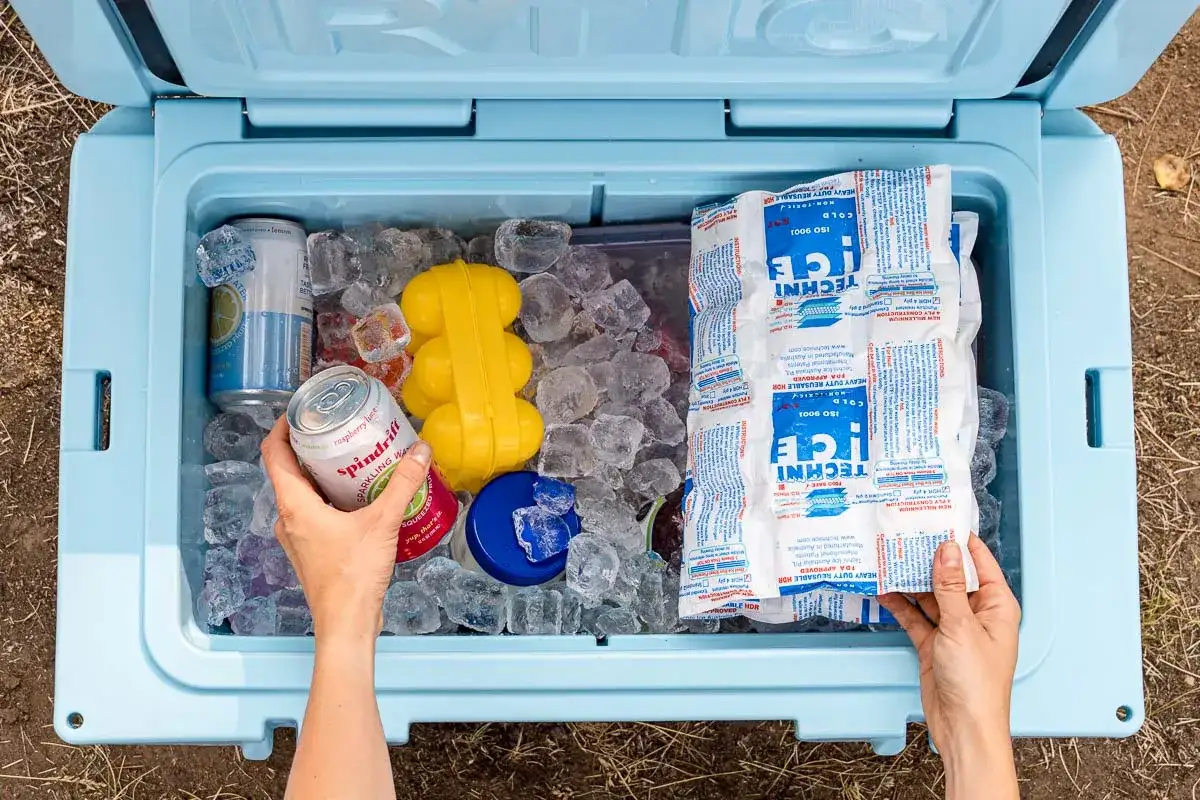
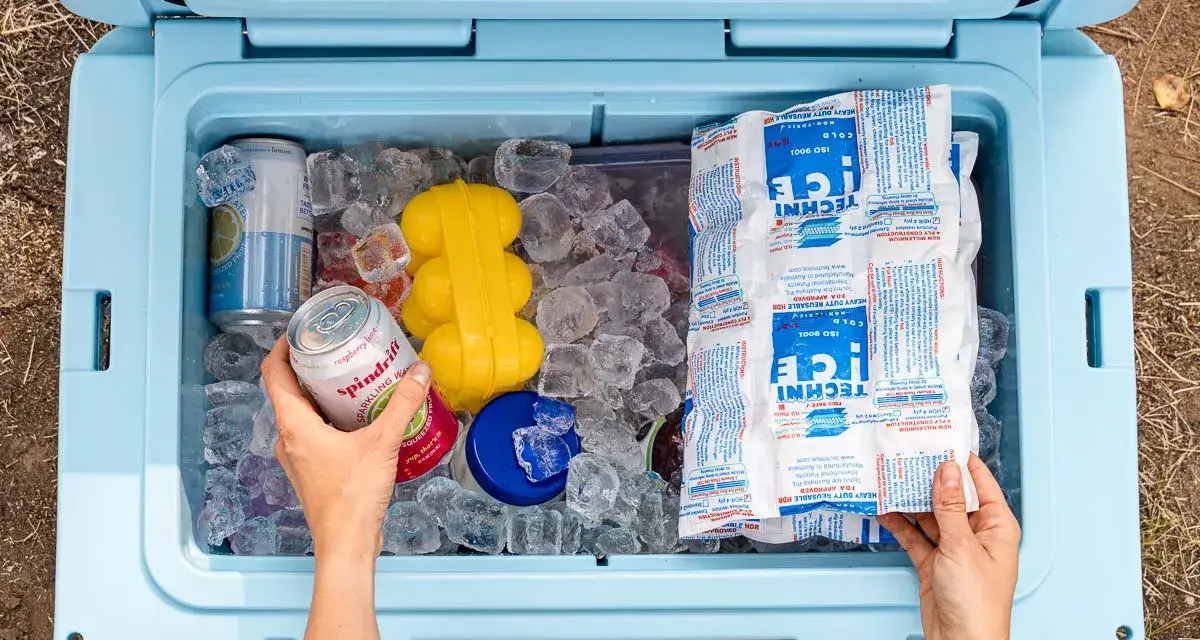
Pack in layers and close the gaps
The best cooler packing order is boring in the best possible way: cold base, heavier items low down, lighter items higher up, and no empty pockets. Air is what melts ice fastest, because it warms and circulates far more quickly than tightly packed food and frozen bottles.
- Start with block ice or frozen bottles on the bottom. This gives the cooler a cold base that lasts longer than loose ice alone.
- Place the heaviest food next. I usually put sealed meat packs, larger tubs, or the last meal of the trip lower down where they will stay coldest.
- Stack dairy, cooked sides, and sauces above that. These items still need to stay cold, but they do not need to sit directly against the frostiest layer.
- Keep bread, fruit, wraps, and snacks near the top. They are easier to reach there and less likely to get crushed under heavier items.
- Fill every gap. A rolled tea towel, a spare frozen bottle, or a flat ice pack stops warm air from moving around inside the box.
If I am packing for a family weekend, I also put a thin frozen pack or a folded towel on top before closing the lid. That small layer helps hold the cold in place and reduces the shock of every quick lid opening. With the structure set, the next job is separating the foods that should never be allowed to mingle.
Separate drinks, raw food, and ready-to-eat meals
This is where a lot of campers lose control of the cooler without noticing. Drinks get opened constantly, raw meat can leak, and ready-to-eat food is the first thing you regret contaminating. I prefer to keep the logic simple: one box for food, one for drinks, and sealed containers for anything that could drip.
REI’s camp packing advice leans on pre-cut food, resealable containers, and extra bowls, and that approach makes real sense on a busy campsite. It keeps you from rummaging through the cooler for every small item and reduces the time the lid stays open.
- Food cooler for meat, dairy, cooked dishes, and anything that must stay below 5°C.
- Drinks cooler for water, juice, cans, and bottles that people will keep reaching for.
- Dry top space for bread, wraps, snack bars, and items that only need to stay cool and dry.
- Leakproof containers for raw meat, fish, marinades, and anything with liquid.
If I only have one cooler, I still keep raw food wrapped separately and place it where it cannot drip onto ready-to-eat items. That little bit of discipline matters more than most people expect, because one leak can turn the whole box into a cleanup job. Once the contents are sorted, the real test is what happens after the cooler leaves the kitchen.
Keep the temperature safe at camp
The Food Standards Agency’s advice is straightforward: keep food below 5°C, and do not assume a basic cool box will hold that temperature for an entire trip on its own. At camp, I put the cooler in the shade, keep it off hot ground where possible, and open it only when I already know what I am taking out. If the site has mains hook-up, a small camping fridge or powered cooler is the better long-stay option; that is especially true in warm weather or on multi-night family pitches.
- Keep it shaded. Under a table, awning, or tree is better than direct sun.
- Keep it closed. Every extra lid lift lets cold air escape and warm air rush in.
- Use a thermometer. I prefer checking temperature rather than guessing.
- Keep it in the car cabin, not a hot boot. That matters during the drive to camp.
- Separate clean food from dirty meltwater. If something leaks, deal with it immediately.
Once the temperature is under control, the next thing to watch is the set of habits that quietly waste ice long before the food actually warms up.
The mistakes that waste ice faster
The biggest cooler mistakes are usually ordinary ones, not dramatic ones. People pack warm food, leave too much empty space, and keep opening the lid to “just check” what is inside. None of those habits looks serious in the moment, but together they can ruin a good packing job fast.
- Putting warm food straight into the cooler. Let it chill first or freeze it where possible.
- Leaving air gaps. Use frozen bottles, extra ice packs, or a clean towel to reduce empty space.
- Mixing drinks with the food supply. Drinks belong in a separate cooler if you want the food box to last.
- Parking it in the sun. Shade makes a bigger difference than most campers think.
- Opening the lid repeatedly. Make one grab, close it, and move on.
- Using poor containers. Thin bags and loose lids let moisture and odours spread through the box.
I also avoid draining meltwater too quickly unless I need to lighten the cooler or the water is getting in the way of the food. Cold water can help the remaining ice last a bit longer, but only if it is clean and not contaminated by leaks. Once those mistakes are out of the way, the packing order becomes much easier to visualise in a real family setup.
A simple packing order for a family weekend
For a two- or three-night camping trip, I pack by meal and by access. That means the food we need first sits near the top, while the items that can wait are placed lower down where the temperature is steadier. It sounds basic, but it cuts down on rummaging and keeps the lid closed.
| Layer | What I would pack | Why it goes there |
|---|---|---|
| Bottom | Frozen bottles, block ice, or sturdy ice packs | Creates the coldest base and slows melting |
| Lower middle | Raw meat, fish, and the last day’s main meals in sealed tubs | Keeps the most temperature-sensitive items deepest in the box |
| Upper middle | Yoghurt, cheese, cooked grains, salads, and sauces | Still cold, but easier to reach without unpacking everything |
| Top | Bread, wraps, fruit, first-day snacks, and breakfast items | These are the items I want to grab quickly |
| Lid space or separate dry bag | Condiments, utensils, tea bags, and other non-perishables | Keeps the cooler organised and prevents small items from disappearing |
If the trip is longer than a weekend, I would rather split food into two coolers or switch part of the menu to shelf-stable items than pretend one box can do everything. That is the practical line where cooler strategy becomes campsite logistics, and it is worth being honest about it before you leave home.
The habits that keep a cooler useful after day one
The coolers that perform best are not always the most expensive ones. They are the ones packed with a clear plan, kept in the shade, and opened only when necessary. If I had to simplify the whole process, I would say this: start cold, pack tight, separate the jobs, and stop the lid from becoming a habit.
For family camping, those small choices make meals feel organised instead of fragile. They also suit British and European campsites well, where you may move between serviced pitches, simple tent spots, and long drives in warm weather. When the setup is consistent, the cooler stops being a worry and becomes one of the easiest parts of camp kitchen planning.