A good camping kitchen setup is less about collecting gadgets and more about making meals easy to cook, easy to clean, and hard to mess up. In the UK, that usually means planning for damp ground, wind, limited pitch space, and food that has to stay safe without a proper household fridge. In this guide, I focus on layout, the right kit, food storage, and the safety habits that matter once the stove is lit.
The practical version of camp cooking is simpler than most people think
- Build around five zones: prep, cook, wash, store, and waste.
- Keep chilled food below 5°C and separate raw and ready-to-eat items.
- Use a stable surface and give the stove clear space on both sides.
- For tents and awnings, cook outside and keep fuel cylinders outside too.
- Choose a system that fits your trip type instead of buying random extras.
Build the kitchen around the way food moves
When I plan a cooking area, I start with movement, not gear. Where do I chop, where do I cook, where does the hot pan land, where do dirty items go, and where is the waste stored until I can empty it? If those answers are unclear, the whole space becomes a rummage station.
A simple rule works well: keep cold food and raw ingredients in one crate or cooler, keep the stove and utensils on a second surface, and reserve a small clean area for plates and serving bowls. That keeps hot tools away from food that is still being prepped and makes it obvious what has been used. Once that flow makes sense, I can place the kitchen where it works with the pitch instead of against it.
That is the real difference between a camp kitchen that feels calm and one that feels improvised. Once the workflow is clear, the next question is where to put it on the pitch.
A layout that works in British weather
I want the kitchen on firm ground, out of the main walkway, and protected from the wind if possible. If the campsite has a picnic table, I use it for prep and keep the stove slightly offset so one spill does not ruin the whole work area. If there is no table, I bring a folding one and keep the stove and water away from the tent door.
The biggest mistake is building too close to the sleeping area, because every wet pan, steam cloud, and dropped spoon ends up in the wrong place. On a rainy weekend, a canopy or awning is useful for shelter, but I still want proper airflow and an easy route away from the flame. I also avoid placing anything where it can block guy lines, pegs, or exits.
| Layout | Best for | What it does well | Trade-off |
|---|---|---|---|
| Single table and stove | Couples or minimalist trips | Cheap, fast, and easy to pack | Limited prep room |
| Two-surface line | Families | Clear zones and better flow | Needs more space |
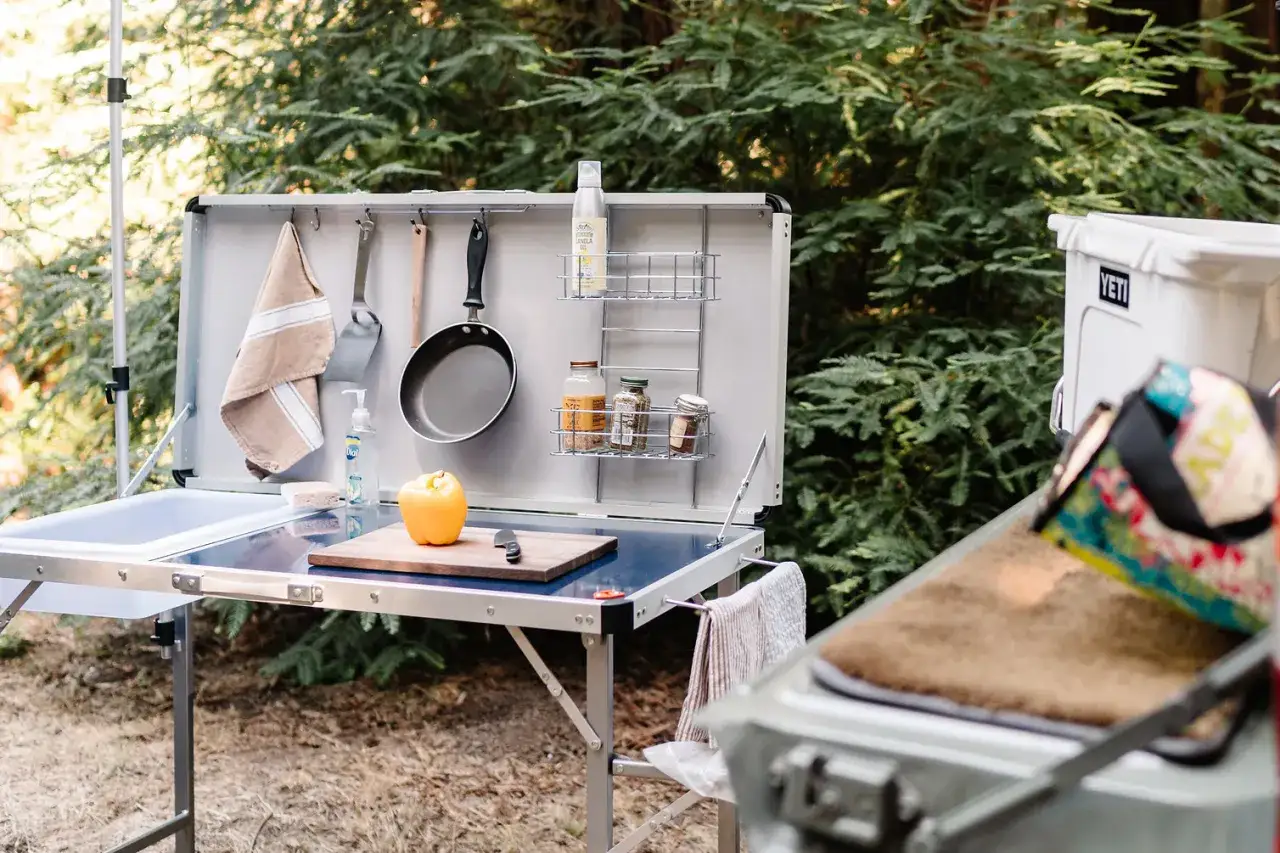
| Chuck box plus fold-out table | Repeat campers | Everything has a home and packing is fast | Heavier and more expensive |
| Caravan or motorhome sideboard | Longer stays | Stays organised and dry | Less portable |
Once the layout is set, I can decide what actually deserves space in the box. That is where a lot of people save the most frustration.
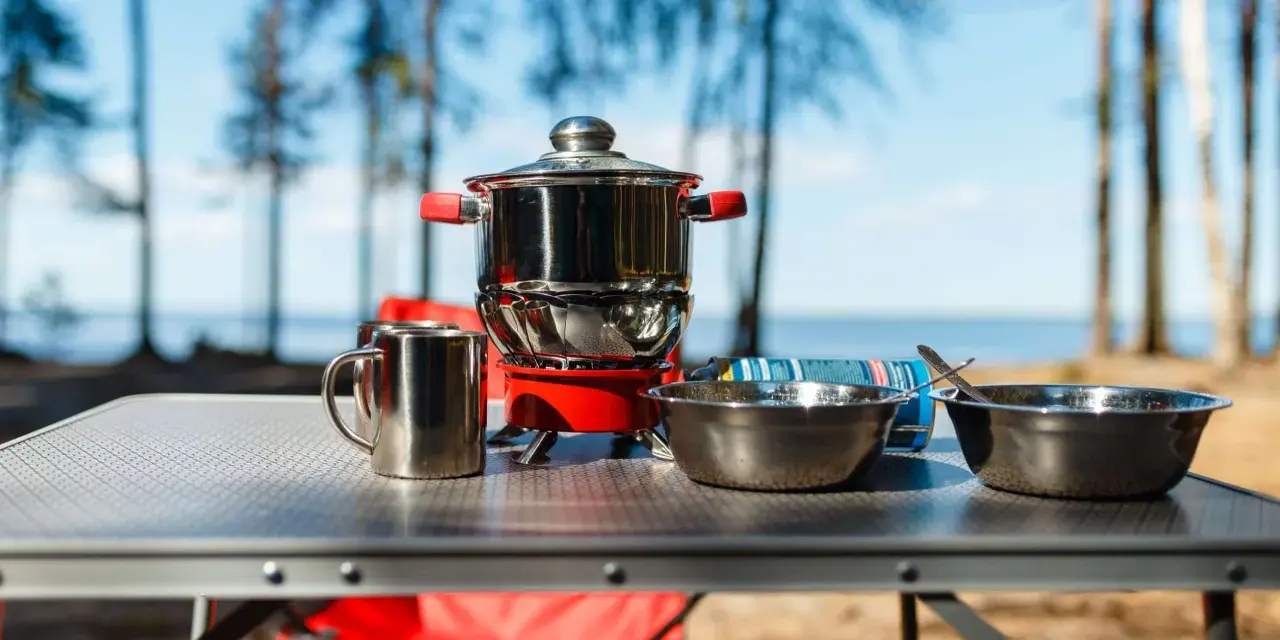
What earns a place in the kitchen box
I prefer a kit that is small enough to reset quickly but complete enough that I do not need to borrow from other bags. A labelled dry-food crate, a cooking crate, and a wash bag usually cover most trips. The trick is to keep tools in the same place every time so the system works on tired evenings, not only when I am packing at home.
| Item | Why I keep it | When I skip it |
|---|---|---|
| Stove and fuel | It is the centre of the whole cook zone | Only if the campsite provides a fixed cooking point |
| One pot and one pan with lids | Enough for most breakfasts and simple dinners | Only on very short trips with no cooking plans |
| Knife, board, tongs, spatula, spoon | These cover almost every prep and cook task | Rarely, because duplicates just create clutter |
| Plates, bowls, mugs, cutlery | Use metal, plastic, silicone, or other durable materials | Glass and fragile crockery do not travel well |
| Water container with tap | Makes washing hands and rinsing much easier | Only if the pitch has reliable running water nearby |
| Tea towel, sponge, soap | Cleanup is faster when the kit is all in one place | Never, unless I am eating out every meal |
| Waste bags and a small bin liner | Keeps food scraps and packaging contained | Not on longer trips, where waste builds up fast |
| Head torch and lighter | Useful when the light goes or the wind picks up | Almost never |
I am also careful not to overpack the nice-to-haves. A coffee maker, collapsible sink, spice kit, or tablecloth can be worth it, but only after the basics are sorted. The box should make camp cooking easier, not look like a moving sale.
Keep food safe without turning camp into a fridge test
The Food Standards Agency recommends keeping chilled food below 5°C, and I treat that as a hard line rather than a nice-to-have. For a short trip, a well-packed cool box can work; for anything longer, or for a serviced pitch with power, a camping fridge is much easier to manage. I separate raw meat from ready-to-eat food, use sealed containers, and keep the cooler closed as much as possible.
If I am camping with children, I usually plan simpler meals with fewer fresh ingredients, because every extra pack of yogurt or sliced meat is another thing that warms up when the lid opens. That is why I lean on food that travels well: pasta, rice, oats, tinned beans, wraps, and vegetables that do not mind a day or two outside perfect refrigeration. It is less glamorous than a fully loaded cooler, but it works better.
For me, the goal is not to recreate a household fridge outdoors. It is to make sure the ingredients stay safe, the menu stays realistic, and the kitchen does not become a stress point halfway through the trip.
Cook safely in wind, heat, and tight spaces
UK fire guidance, including advice from nidirect, is very direct here: do not take a gas stove, barbecue, or heater into a tent or awning unless it is a permanent, properly installed appliance. I keep fuel cylinders outside, change them in the open air, and give the stove a clear patch of ground away from fabric, long grass, and anything that can catch. Windbreaks help, but only if they improve shelter without trapping fumes.
I also keep the cooking zone boring in the best possible way: level ground, stable table, no loose guy ropes, no clutter near the flame, and no one wandering through while I am carrying something hot. In a caravan or motorhome, a carbon monoxide alarm is a sensible extra layer; in a tent, it is not a workaround for poor ventilation. The safest habit is still the simplest one, which is to cook outside where the air can move.
- Keep the stove on a flat, non-flammable surface.
- Keep fuel cylinders outside and away from children.
- Do not cook near the tent wall, awning fabric, or dry grass.
- Extinguish everything completely before bed.
- Use a torch or headlamp so you are not cooking half-blind after dark.
Once safety is handled, the remaining choice is size and complexity. That depends more on the trip than on gear envy.
Which setup fits your trip
I do not think there is one perfect model for everyone. A weekend couple, a family with two children, and a touring camper all need different amounts of surface space, storage, and cleanup room. The cleanest systems are usually the ones that match the trip, not the ones with the most accessories.
| Trip style | Good base | Typical UK spend | Why I like it |
|---|---|---|---|
| Weekend car camping | Foldable table, single or two-burner stove, one cooler, one dry crate | £80-£180 | Quick to pack and simple to run |
| Family basecamp | Larger table, two-burner stove, separate prep and wash tubs, labelled food boxes | £180-£400 | Better flow for three to five people |
| Touring or repeat trips | Chuck box, modular containers, folding side table, camping fridge if powered | £350-£700+ | Fastest reset and best organisation over time |
These numbers are only indicative, but they are useful when you are deciding where to spend first. I would rather pay for a sturdy table, a decent cooler, and proper storage boxes than chase novelty gear that looks clever and packs badly.
The habits that keep the system tidy after day two
The real test of any camp kitchen is not the first meal. It is breakfast on day two, when everything is damp, the weather has changed, and the family wants food before anyone has fully woken up. That is when a few habits make all the difference.
- Pack by meal when the trip is short, so you can grab what you need quickly.
- Use labels or colour-coded boxes for dry food, cooking gear, and washing-up items.
- Clean as you go instead of letting the whole setup collapse into one pile.
- Use a simple three-container wash routine: wash, rinse, final rinse.
- Dry pans, knives, and cloths fully before they go back into storage.
- Empty grey water at the campsite disposal point or sink, not beside the pitch.
I also reset the stove area before bed, even if that only takes five minutes. It means fewer surprises in the morning, fewer forgotten items, and less chance of packing something away while it is still wet or greasy. That small reset is often what separates a calm campsite from a messy one.
What I would prioritise on a wet UK weekend
If I were starting from scratch, I would focus on four things first: a stable work surface, a cooler or fridge that actually keeps food cold, a cooking kit with one home for every tool, and a wash system that does not rely on guesswork. Those four pieces do most of the real work. Everything else is optional until the basics feel effortless.
- Pick layout before accessories.
- Buy storage before novelty gadgets.
- Keep food safety simple and visible.
- Make cleanup fast enough that you will actually do it.