New hiking boots should protect your feet from rough ground, not spend the first month punishing them. When I talk about breaking in hiking boots, I mean a controlled process of softening pressure points, learning how the boot flexes, and finding out early whether the fit is genuinely right. This guide covers the safest way to do it, how long it usually takes, which materials need the most patience, and the warning signs that tell you the boots are wrong for your feet.
What you need to know before the first long walk
- Break-in is about fit, not force. If a boot keeps creating the same hot spot, more miles will not fix it.
- Lightweight synthetic boots may need very little time. Traditional leather models usually need several short outings and sometimes weeks.
- Start indoors, then go short, then go longer. A gradual ramp-up is the safest way to avoid blisters.
- Use the socks and insoles you will actually hike in. Changing variables halfway through makes it harder to judge the fit.
- Repeated pain in the same place is a red flag. That usually means the shape is wrong, not that you are impatient.
Why new walking boots feel stiff at first
A fresh pair often feels awkward for three reasons: the upper has not yet bent with your stride, the heel counter is still firm, and the midsole has not settled under your weight. In waterproof boots, a membrane and gusseted tongue can add even more structure, which is useful on wet ground but can feel boxy on day one. That stiffness is not automatically a problem; it only becomes one when it causes rubbing, toe jamming or heel lift.
The point of the break-in period is not to force the boot to change shape. It is to let the boot and your foot learn each other’s limits before you commit to a longer route. REI’s guidance reflects what I see on the trail: lighter, modern boots may feel ready almost immediately, while thicker leather pairs can take weeks to settle.
Once you understand why the boot feels that way, it becomes easier to choose the right material and the right pace. That is where the differences really matter.
Leather, synthetic and hybrid boots need different patience
Not every boot deserves the same break-in schedule. The material, construction and intended use all change how much time you should give it.
| Boot type | Typical break-in feel | What I expect |
|---|---|---|
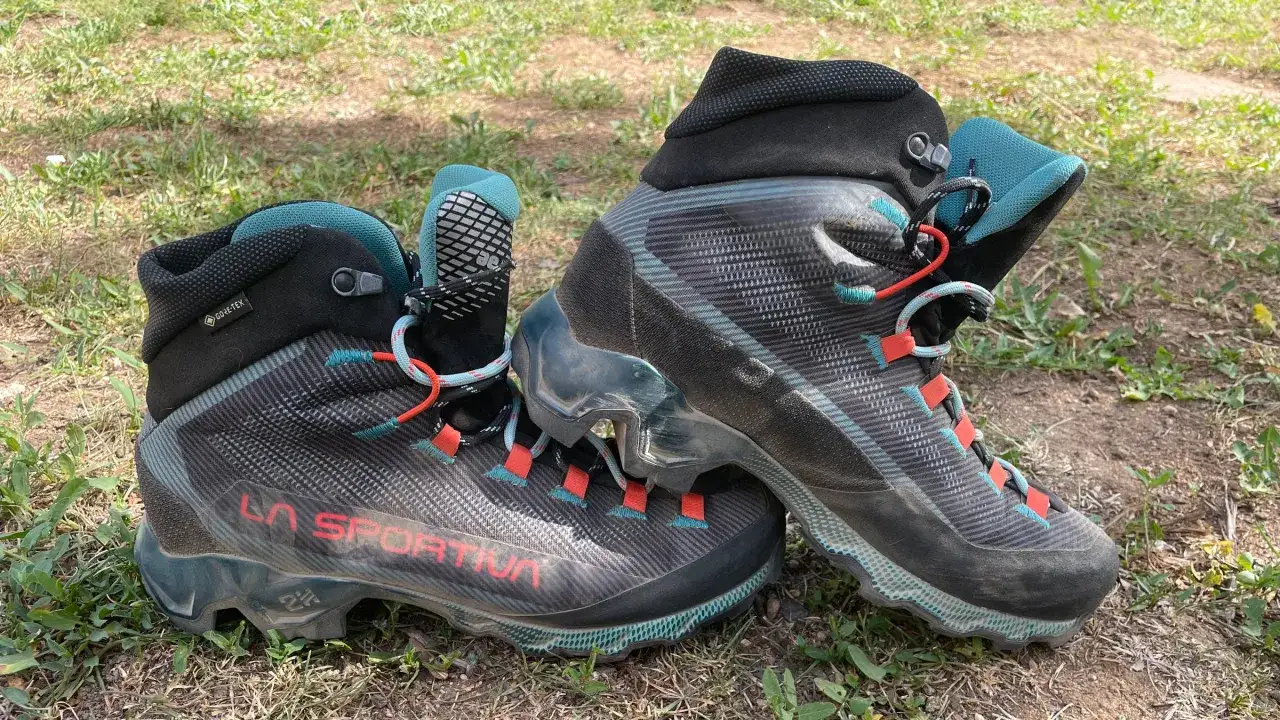
| Lightweight synthetic or hybrid boots | Minimal to mild | Often usable almost immediately, but I would still test them on one or two short walks for heel slip and forefoot pressure. |
| Traditional leather boots | Moderate to stiff | Usually need several short outings and, in many cases, 1 to 4 weeks of gradual wear before they feel settled. |
| Heavy waterproof hill boots | Firm and structured | Can feel solid for longer, especially if the boot is built for steep ground, wet weather and a loaded pack. |
Salomon makes the same basic distinction I do: some modern materials can feel good from day one, while traditional leather still needs time to soften and adapt. The real lesson is simple: if a boot pinches in the shop, it will not become ideal later just because you kept walking in it.
That is why I always pair material knowledge with a deliberate break-in routine instead of hoping the boot will sort itself out.
How I would ease a new pair in safely
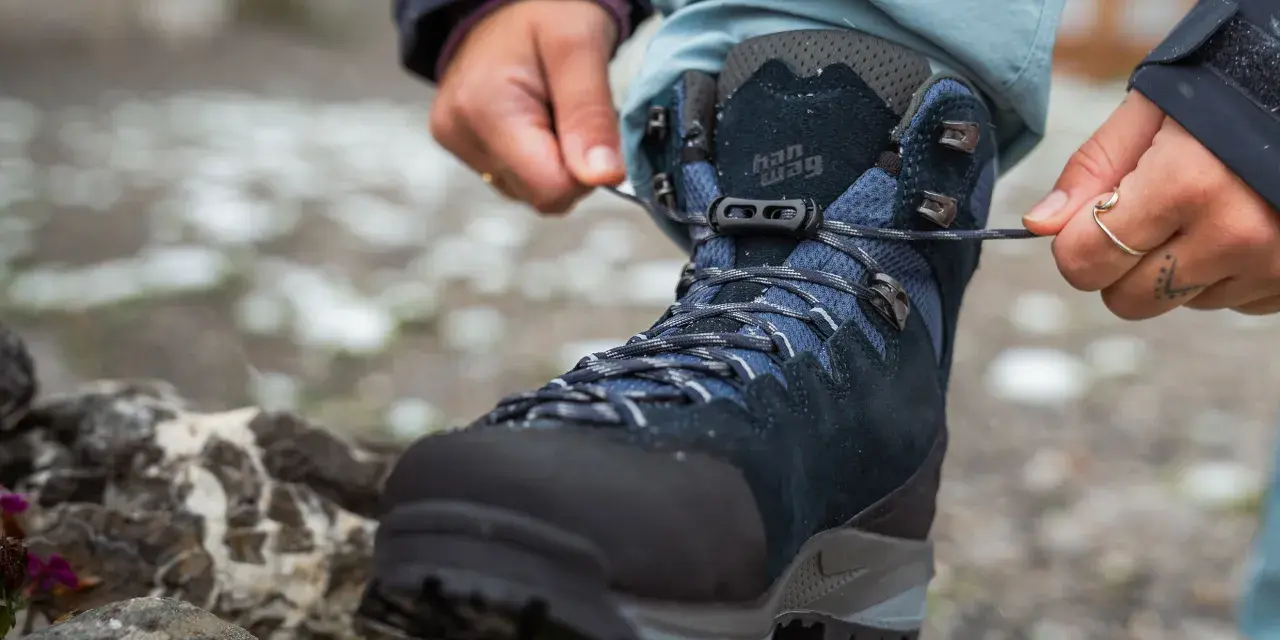
If I were starting from zero, I would treat the first few wears as a fit test, not a training session. A hot spot is the first patch of friction that often becomes a blister later, so the goal is to spot it early and stop before it turns into an injury.
- Wear the boots indoors for 20 to 30 minutes with the same hiking socks you plan to use outside.
- Check the heel and forefoot for pressure, then retie the laces if the boot feels loose in one area and tight in another.
- Take the first outdoor walk on flat ground for about 30 to 60 minutes, ideally close to home.
- Move up to a 2 to 3 mile route, or roughly 3 to 5 km, before you try steeper paths or rougher terrain.
- Add a light pack only after the boot feels stable without it, because extra load changes how the heel and forefoot move.
- After each outing, remove the insoles, clean off mud and let the boots dry naturally at room temperature.
I would not use heat, soaking or aggressive bending to speed things up. Those shortcuts can damage adhesives, liners and waterproof membranes, and they rarely solve a real fit problem anyway.
The safer approach is slower, but it gives you useful feedback. That feedback becomes much clearer once you know what a good fit actually feels like.
How to tell whether the fit is improving
A boot that is breaking in properly gets more predictable, not more painful. The upper relaxes a little, the heel stops moving around, and pressure points become less noticeable after a few wears.
| What you feel | Usually normal | Usually a warning sign |
|---|---|---|
| Heel movement | Light movement that disappears once the laces are adjusted properly | Repeated lifting or rubbing on every step |
| Toe room | A little space in front of the toes on level ground | Toes hitting the front on descents |
| Pressure points | Brief stiffness that fades after a short walk | The same sore spot every time you wear them |
| Blisters | None, or a single minor hot spot you caught early | Recurring blisters in the same area |
That is also why socks, lacing and the first few routes matter so much. A small mistake in any of them can turn a good boot into a miserable one.
Common mistakes that create blisters faster
- Taking brand-new boots straight onto a long hill day.
- Testing them with cotton socks instead of proper hiking socks.
- Over-tightening the toes while leaving the heel loose.
- Changing insoles, socks and lacing all at once, then not knowing what caused the problem.
- Using a radiator, fire or hair dryer to speed up drying.
- Ignoring rubbing because you expect the boot to “give in” eventually.
The socks are especially important. Moisture-wicking hiking socks reduce friction, and that matters more than people think when the trail is wet or the weather turns warm. Cotswold Outdoor’s fitting advice follows the same logic: wear the boots at home, then on short walks, and only after that build up distance.
If you clean and dry the boots properly after each wear, they will stay more comfortable for longer. That becomes even more important in the UK, where damp ground and muddy paths are part of normal use.
A UK-friendly first-walk plan for wet paths and hill days
For British conditions, I would test new boots on a dry local walk first, then on a short muddy circuit, and only after that on a proper hill route. A boot that feels fine on pavement can still rub badly on a descent if your foot slides forward on wet ground or loose gravel.
- First outing: 30 to 45 minutes on a flat park path or pavement loop.
- Second outing: 60 to 90 minutes on mixed ground with a few gentle slopes.
- Third outing: A half-day walk with the socks, lacing and pack you will actually use outdoors.
- Only after that: A longer route in the hills, where wet grass, stone steps and descents will test the fit properly.
This is also the moment to judge whether the boot feels too warm. Waterproof boots are valuable in the UK, but in mild weather they can run hotter than lighter non-waterproof models. If you mainly walk in damp fields, coast paths or wooded trails, that trade-off is worth thinking about before your feet are already sweaty inside the boot.
On a family walk, a local loop is usually enough to expose problems without turning the outing into a test of endurance. That is a much better way to learn whether the boots support the walk you actually do, not just the one you imagine doing.
The last checks before a proper hike
- The same pressure point has not appeared twice in a row.
- Your heel stays planted when you walk downhill.
- Your toes can move, but they are not sliding around.
- The boots are fully dry, clean and laced the way you prefer.
- You have blister tape or plasters in the pack just in case.
- Your socks, insoles and lacing setup are all consistent with the last comfortable walk.
If breaking in hiking boots still hurts after a few short outings, I would treat that as a fit problem, not a discipline problem. At that point, changing the lacing pattern, socks or insoles may help, but persistent rubbing in the same place usually means the boot shape is wrong for your foot.
The best outcome is not a boot that feels perfect on the first step. It is a boot that becomes trustworthy before the trail becomes long, wet or awkward, and that is the standard I would use every time.