Water is one of the few things that becomes more important the longer you stay out, and it is one of the easiest things to misjudge. The goal is not to carry the most water possible, but to keep it reachable, balanced, and safe to drink when you need it. This guide explains how to carry water while hiking, how much to pack for British conditions, and which bottles, flasks, and bladders make the most sense for day hikes and backpacking.
The simplest hiking water system is the one you can use without thinking
- Keep at least part of your water within easy reach; if it is buried in the pack, you will drink less.
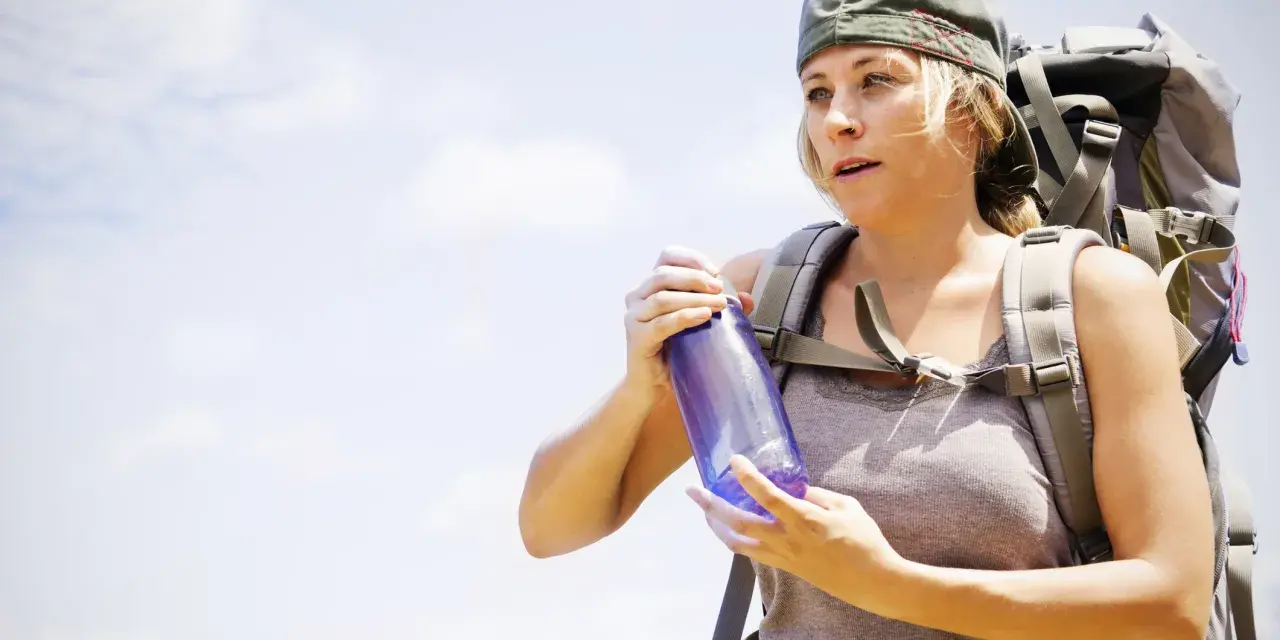
- A bottle is the simplest option, a bladder is the easiest for hands-free sipping, and a hybrid setup gives the most flexibility.
- Every extra litre adds 1 kilogram to your pack.
- For most UK day hikes, 1.5-2 litres is a sensible starting point, with more for heat, steep climbs, or long exposed sections.
- If you plan to refill from streams, treat that water instead of assuming it is safe.
Choose the carry method that matches the day
When I choose a water setup, I start with one question: will I want to sip constantly, or will I only stop for proper breaks? That answer usually decides whether a bottle, bladder, soft flask, or a mix of them is the best fit. For most hikers, the win is not one perfect container but a setup that makes drinking easy enough that you actually do it.
| Method | Best for | Strengths | Limits |
|---|---|---|---|
| Hard bottle | Day hikes, family walks, casual hill days | Cheap, durable, easy to refill, easy to monitor | You need a hand or a pocket to access it |
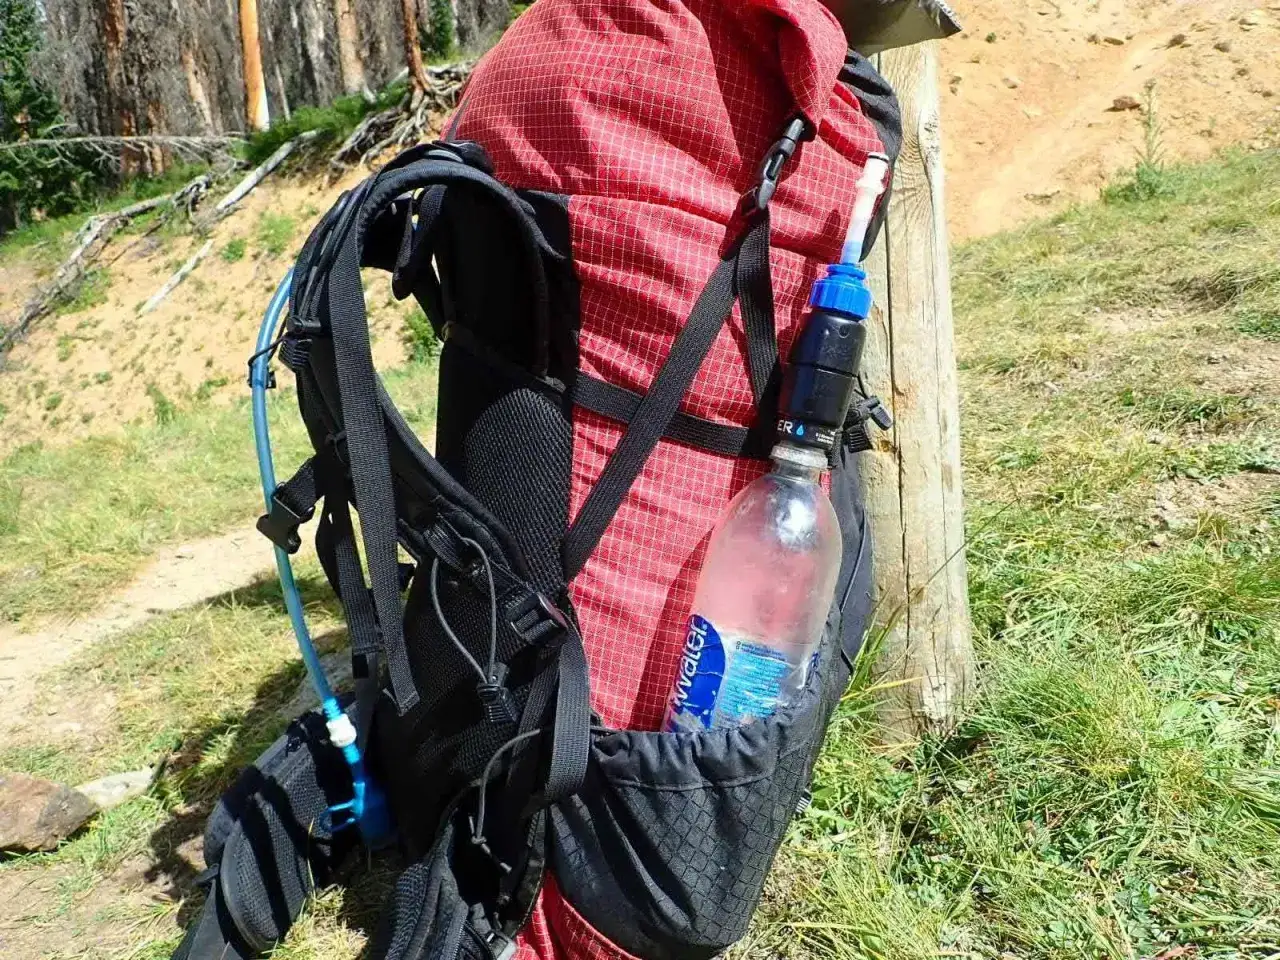
| Hydration bladder | Longer hikes and walkers who forget to drink | Hands-free sipping, good weight distribution, large capacity | Harder to clean, harder to see how much is left, hose can freeze |
| Soft flask | Fast walking, trail running, chest-pocket carry | Light, compresses as you drink, easy to stash | Smaller capacity and less robust than a hard bottle |
| Collapsible bottle | Backpacking, backup carry, low-pack-volume trips | Folds flat when empty, useful as a spare container | Less pleasant to drink from and less rigid when full |
| Belt bottle | Shorter outings where quick access matters | Easy to reach without stopping, keeps weight off the shoulders | Limited capacity and can bounce if poorly fitted |
My default for a typical day hike is a hybrid: one bottle I can reach immediately, plus a second container in reserve. That gives me speed and backup without forcing me to commit to a single system. Once the container is chosen, the next question is how much water belongs in it.
How much water to start with on a UK hike
I treat water planning as part of route planning, not a last-minute guess. A sensible starting point for a cool, moderate walk is usually enough to get you through the first stretch comfortably, but exposed ridges, summer heat, and long climbs can increase demand fast. One detail people often forget is that every extra litre adds 1 kilogram, so carrying too much can be as annoying as carrying too little.
| Hike type | Starting carry per adult | Why this works |
|---|---|---|
| Short low-level walk under 2 hours | 1-1.5 litres | Enough for cool weather and short delays without overpacking |
| Half-day hill walk | 1.5-2 litres | A practical buffer if the route takes longer than planned |
| Full-day upland route | 2-3 litres | Safer when refill points are uncertain or the terrain is exposed |
| Hot weather or steep climbing | 3 litres or more, or a planned refill | Sweating and wind exposure can raise intake needs sharply |
For family walks, I prefer individual bottles rather than one big shared reservoir. Children usually drink better when their water is visible and easy to hold, and it stops one adult from carrying everyone’s supply. If the route is warm, steep, or very dry, I push the total higher rather than hoping the weather will be kind. That leads straight to the part most walkers ignore until it causes trouble: where the next refill actually comes from.
Refill points matter more than most people think
The best water setup still fails if you assume you will find a perfect refill halfway through the day. On British routes, I look for taps, visitor centres, cafés, campsites, and reliable public fountains first; natural water is a backup plan, not a promise. If you do plan to use streams, I would rather treat them and carry a small safety margin than gamble on a source that looks clear but is not actually safe.
- Best option public taps and treated water points
- Usable with treatment flowing streams well away from livestock, paths, and camps
- Ignore these stagnant pools, muddy ditches, puddles, and water that sits near grazing animals or heavy foot traffic
A filter, purifier, or tablets are worth packing when the route depends on natural water. I think of them as insurance: they let you travel lighter when the trail offers reliable flow, but they also stop a small planning mistake from turning into a miserable afternoon. With refill strategy sorted, the practical question becomes how to make the system comfortable enough that you keep using it.
What makes a setup comfortable in real hiking conditions
Good water carry is mostly about friction. If your bottle is buried, the hose kinks, the cap leaks, or the bottle knocks against your pack, you will drink less than you should. I usually look for five things: access, balance, leak resistance, cleaning, and a backup plan.
- Access keep at least one bottle in a side pocket or belt where you can reach it without taking the pack off.
- Balance split the load left and right if you can, especially when carrying more than 2 litres.
- Cleaning a hydration reservoir is a soft water bag inside the pack, and it needs to dry properly after sugary drinks or long trips.
- Cold weather a hose can freeze on winter hills, so a plain bottle sometimes beats a bladder when temperatures drop.
- Electrolytes on long, sweaty days, I sometimes keep one bottle for plain water and one for a light electrolyte mix.
- Backup if you use a bladder, keep a bottle too; if one container fails, the other keeps the day on track.
A practical setup for day hikes, family walks and backpacking
I rarely choose one arrangement for everything. The right carry system changes with distance, weather, and whether I am walking alone or with family. The table below is the way I usually think about it.
| Trip type | Setup I would use | Why it works |
|---|---|---|
| Easy family walk | One 500-750ml bottle per person plus a 1 litre spare in the pack | Simple, visible, and easy to hand around at breaks |
| Three to five hour hill walk | 1 litre bottle plus 1.5-2 litre bladder or a second bottle | Enough reserve without making the pack awkward |
| Long mountain day | 2 litres in bottles or a 2 litre bladder plus a 1 litre bottle | Lets you drink on the move and still keep backup capacity |
| Backpacking overnight | 2 litre bladder, 1 litre bottle, and a filter or tablets | Good for camp cooking, refills, and trail sipping |
The habits that keep water management simple all day
The best gear will not help much if you only drink when you feel desperate. I try to make water feel normal and routine instead of dramatic.
- Start the walk already hydrated rather than trying to catch up on the trail.
- Take small drinks often instead of waiting for a long stop.
- Refill at every reliable opportunity, even if you think you have enough.
- Keep a reserve for the final hour of the walk and for unexpected delays.
- Watch the weather, because sun, wind, and steep climbs can all increase how much you need.
If I had to reduce the whole topic to one line, it would be this: make water easy to reach, easy to trust, and easy to drink before you are thirsty. That approach keeps the pack lighter in practice, the walk more comfortable, and the decision-making much simpler when the trail gets long.