
Blisters are one of the few hiking problems that can turn a good day into a miserable one very quickly. In this guide, I focus on the practical side: how to calm a hot spot before it becomes a bigger issue, how to protect a blister that has already opened, what to pack for the trail, and how to stop the same rub point coming back on your next walk.
The fastest way to keep a blister from ruining the walk
- Act at the first sign of rubbing; a hot spot is easier to fix than a full blister.
- Keep the foot dry and remove grit before you tape or dress anything.
- Leave an intact blister alone when you can, and cover it with a soft plaster or padded dressing.
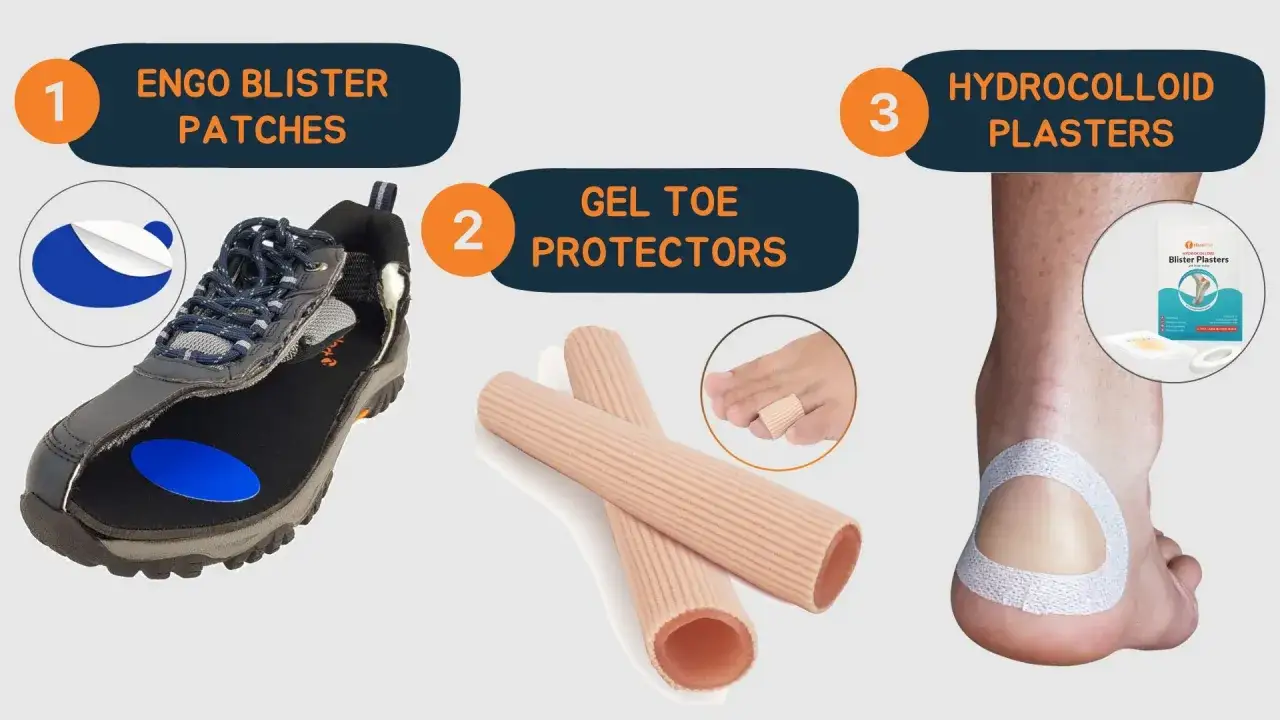
- Hydrocolloid blister plasters can reduce pain and help protect the skin while it heals.
- If the blister changes your stride, gets infected, or keeps returning, I treat that as a stop signal.
Why blisters appear so quickly on UK walks
A blister starts when repeated rubbing separates layers of skin. That sideways rubbing force is called shear, and it is usually worst on long descents, in wet socks, or when the boot lets the heel move even slightly with every step. On UK trails, I see the same pattern again and again: a walk begins comfortably, the foot swells a little, moisture builds up, and a small hot spot turns into a full blister before lunch.
New boots, loose lacing across the forefoot, and seams that sit in the wrong place all make the problem worse. So does maceration, which is simply skin that has gone soft and waterlogged from too much moisture. Once the skin is softened, it tears more easily, and that is why a damp, muddy day can be tougher on your feet than a dry one of the same distance.
The good news is that this is usually a friction problem, not a mystery. Once you understand the causes, the rest of the job becomes much easier. The first real win is learning how to respond the moment you feel that first warm, irritated patch.
What to do the moment you feel a hot spot starts
I treat a hot spot as an early warning, not something to “walk off”. Stop, take the boot off if needed, and check for the obvious causes: a wrinkled sock, a bit of grit, heel lift, or a seam that has shifted under load. Dry the skin properly before you do anything else, because tape on a damp foot usually fails sooner than people expect.
- Remove the cause first. If there is grit, mud, or a folded sock, fix that before you cover the area.
- Dry the foot thoroughly. A quick wipe is rarely enough; the skin should be dry enough for tape or a plaster to stay put.
- Reduce the rubbing point. Re-lace the boot, tighten the heel, or change the sock tension if the foot is sliding.
- Protect the area. Use tape, a blister plaster, or a padded dressing to lower friction on the hot spot.
- Test the fix. Walk a few minutes and check whether the pain is fading, stable, or getting worse.
| Situation | Best move | Why it helps |
|---|---|---|
| Warm spot, skin still intact | Dry the foot, adjust lacing, and apply tape or a blister plaster | It often stops the skin layers from separating further |
| Wet sock or gritty boot | Remove the cause before covering the foot | Sealing in moisture or debris usually makes friction worse |
| Heel slipping on descents | Tighten the heel hold and reassess the sock fit | Less movement means less shear |
| Pain changes the way you walk | Shorten the day or stop | A limp creates new pressure points elsewhere |
The Ramblers is right about one thing that matters on the trail: early action beats bravado. I would rather spend five minutes fixing a rub point than spend the next two hours fighting an injury that keeps getting worse. Once the skin has broken, the job changes from prevention to careful protection, which is the next thing to get right.
How to dress an open blister without making it angry
The NHS advice is straightforward: keep the blister clean, cover it with a soft plaster or padded dressing, and do not burst it yourself. If it opens on its own, wash your hands first, let the fluid drain naturally, gently pat the area dry, and cover it with something that will not stick to the raw skin. I usually prefer a hydrocolloid dressing for a clean, intact blister, because it cushions the area and creates a moist healing environment that can reduce pain. In simple terms, a hydrocolloid is a dressing that seals the skin in a way that helps it heal with less rubbing.
If the blister skin is still there, leave it in place. That top layer acts like a natural cover for the new skin underneath. Do not peel it off, and do not keep wearing the exact shoe setup that caused the problem if you can avoid it. If you must keep walking, I would loosen the pressure around the blister, protect the surrounding skin, and keep the route short enough that the foot is not taking repeated hits all day.
One thing I do not recommend is trying to “power through” a blister that is already changing your gait. When the pain starts altering the way you step, the damage is no longer local. That is usually the point where a small, manageable problem becomes a much longer recovery.
What I pack in a blister kit for hiking and backpacking
A good blister kit is small, but it should solve the problems that actually happen on trail. I keep the essentials separate from the rest of the first-aid bag so I can reach them without unpacking everything in the rain. For backpacking, I also want enough spare material to deal with wet feet, repeated rubbing, and one or two days of poor weather.| Item | Why it earns space | Best use |
|---|---|---|
| Hydrocolloid blister plasters | They cushion pressure and help protect intact skin | Clean, uninfected blisters and early hot spots |
| Low-adherent dressing | It is less likely to stick to a burst blister | Open or already drained blisters |
| Sports tape or blister tape | It reduces movement across a known rub point | Hot spots before the skin breaks |
| Spare walking socks | Dry socks change everything on a wet day | Mid-walk swaps, lunch stops, and camp use |
| Small towel or tissue pack | Dry skin makes dressings last longer | Before taping, after stream crossings, after rain |
| Waterproof pouch or zip bag | Keeps the kit dry and dressings clean | Any walk where rain is likely |
For backpacking, I add one more habit rather than one more product: dry the socks at camp and rotate into the cleanest pair I have. Even a simple overnight air-out can make the next morning much kinder on the feet. That small routine matters more than most people think, especially on multi-day routes where wet fabric can become a daily problem.
How I stop the same rub point coming back
If a blister returns to the same spot, I stop blaming the skin and start looking at the setup. Fit is usually the real issue. A boot that is too loose allows friction; a boot that is too tight compresses the foot and creates pressure. Either way, the result is the same: skin that gets rubbed raw in the same place over and over.
- Break in boots gradually. Short walks reveal fit problems before a full-day route does.
- Choose socks for moisture control. Merino or merino-blend socks often work well because they handle damp conditions better than basic cotton.
- Check the heel hold. Heel-lock lacing can reduce lift on descents, which is where many heel blisters start.
- Trim toenails straight across. Long nails can push into the boot on downhill sections and create toe pain that looks like “just rubbing”.
- Treat your feet before the walk. If you already know your heel or little toe is vulnerable, tape that spot before the day begins.
- Use the right sock system for the route. A thin liner sock under a walking sock helps some people, but it is not universal; if the boot feels cramped, extra fabric can make things worse.
The Ramblers’ advice about good socks and early action lines up with what I see on real walks: the right footwear system matters, but it has to fit the foot that is actually going out that day. Wet weather, swelling, and long mileage all change the equation. Once you understand that, prevention becomes a routine rather than a guess.
The signs I do not ignore before the next day out
Most blisters heal on their own within about a week, but I do not treat every blister as routine. If the skin becomes hot, the pain gets worse instead of better, or the blister fills with green or yellow pus, I stop assuming it is just friction. Those are infection signs, and the NHS advises getting help through NHS 111 when a blister is very painful, keeps coming back, or looks infected.
I am also cautious when the blister is in an unusual place, when several appear for no clear reason, or when the skin around it is red and tender. If you have a condition that affects circulation or feeling in your feet, I would be even more conservative. In those cases, it is better to get medical advice early than to test how far you can push a sore foot.
For me, the rule is simple: if a blister is stable, clean, and protected, the walk may continue at an easier pace. If it is forcing a limp, worsening under treatment, or looking infected, the day is over. That judgment call saves far more hiking time in the long run than stubbornness ever does.