
Cooking with a Dutch oven turns a campsite fire into a proper outdoor kitchen. I like these dutch oven campfire recipes because they are forgiving, filling, and easy to scale for a family, even when the weather shifts or the fire burns unevenly. In this guide I focus on the dishes that really work, how to manage heat over embers, what to pack, and how to avoid the usual first-trip mistakes.
What matters most before you light the fire
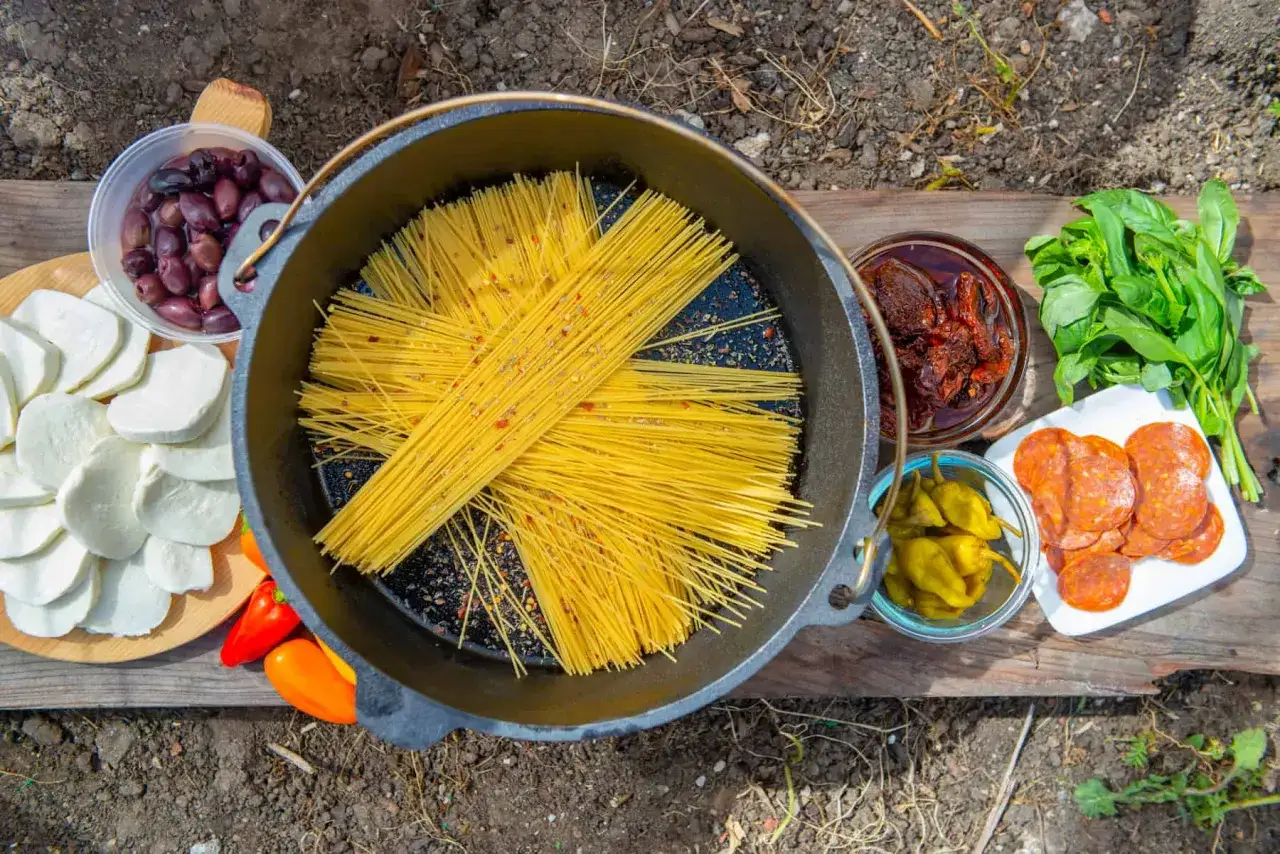
- Choose forgiving dishes like stews, cobblers, breakfast hashes, and baked pasta.
- Use steady embers, not lively flames, because they give you cleaner, more even heat.
- Plan for more heat on the lid when you are baking, and rotate the pot regularly.
- Prep at home by portioning spices, chopping vegetables, and packing everything in simple containers.
- Check campsite rules first; in the UK, some club sites do not allow open fires at all.
- Start with one reliable dish rather than trying to cook a full feast on your first trip.
Why a Dutch oven earns its place at camp
A Dutch oven is one of the few pieces of cookware that can braise, simmer, bake, and roast without asking for much in return. The heavy cast iron holds heat well, the lid traps moisture, and the whole pot is far more stable over a fire than a thin pan ever will be. That is the real advantage: once the pot is hot, the food keeps cooking evenly even if the fire changes a little.
I prefer a seasoned cast-iron oven for rough camp use because it is more forgiving around embers, ash, and constant handling. An enamelled pot can work, but it deserves gentler treatment and is less attractive if you are setting it straight onto a lively fire. If your pot has feet and a tight lid, even better, because that setup makes it easier to control heat from below and above.
- Heat retention means you do not need a perfect fire every minute.
- A tight lid keeps stews moist and helps bakes rise properly.
- Thick walls smooth out hot spots far better than thin camping pans.
- One-pot cooking saves washing up, which matters more when the water is cold and the light is fading.
Once the pot behaves predictably, the next question is much more interesting: what should go into it first?
Which dishes make the most sense in the pot
Not every recipe behaves well outdoors. The best ones are generous, slightly rustic, and calm under uneven heat. In practice, I get the best results from food that can simmer slowly, absorb flavour, and still taste good if it sits for a few minutes while everyone finds a bowl.
| Dish type | Good examples | Why it works outdoors | Difficulty |
|---|---|---|---|
| Breakfasts | Potato hash, baked beans with eggs, sausage and onion mix | Fast, filling, and easy to finish while the fire is still settling | Easy |
| Main meals | Stew, chilli, chicken and leek cobbler, baked pasta | They forgive small heat swings and taste better after a gentle rest | Easy to medium |
| Breads and sides | Soda bread, cheesy scones, camp rolls | They use the lid heat well and do not need fancy shaping | Medium |
| Desserts | Apple crumble, berry cobbler, peach bake | Fruit-based dishes are resilient and make good use of residual heat | Easy |
My rule is simple: if a dish needs fine temperature control, a delicate sauce, or constant stirring, I usually leave it at home. If it can simmer, bubble, rise, or soften without stress, it probably belongs in the pot. The recipe matters, but steady heat is what stops dinner from turning bitter or burnt.
How I manage heat without burning the bottom
Most campfire mistakes come from using flames instead of embers. Flames are too wild and too uneven, while a bed of glowing coals gives you the steady heat a Dutch oven needs. For baking, I usually aim for more heat on the lid than under the base. For braises and stews, I keep the balance closer to even so the liquid in the pot can do its job.
| Cooking goal | Starting heat balance | Useful timing rule | What to watch for |
|---|---|---|---|
| Baking bread or cobbler | Roughly 2/3 heat on top, 1/3 underneath | Rotate the pot and lid every 10 to 15 minutes | Top should brown steadily without the base going dark too quickly |
| Stews and braises | Closer to even, with a slight bias underneath | Check every 15 to 20 minutes | Look for a gentle simmer, not a hard boil |
| Breakfast hash | Medium heat under the base, less on the lid | Stir more often at the start, then let it set | Potatoes should brown, not stick and scorch |
For a 12-inch Dutch oven, a common starting point is about 24 briquettes, with roughly 16 on the lid and 8 underneath. That is only a guide, not a law. Wood embers and wind will change everything, so I use the numbers as a beginning and adjust by eye, smell, and the way the steam behaves when I lift the lid briefly. If the bottom is moving too fast, I spread the coals out or raise the pot slightly. If the top is lagging, I add a few more coals to the lid.
When you can read the heat this way, the actual cooking gets much easier. At that point, the best recipe is simply the one you will happily make again next weekend.
Four recipes I would actually cook again on a trip
These are the dishes I reach for when I want something reliable rather than theatrical. They are generous enough for a small group, simple enough to prep in a campsite kitchen, and forgiving enough to survive real fire conditions instead of perfect test conditions.
| Recipe | Typical cook time | Best for | Why I like it |
|---|---|---|---|
| Sausage, bean and tomato stew | 45 to 60 minutes | Cool evenings and hungry groups | It is cheap, filling, and almost impossible to ruin |
| Chicken and leek cobbler | 50 to 70 minutes | A proper sit-down dinner | The topping cooks from the lid heat while the filling bubbles below |
| Mountain breakfast hash | 25 to 35 minutes | First thing in the morning | It uses leftovers well and feeds people quickly |
| Apple and blackberry crumble | 35 to 45 minutes | Desert after a long day outside | It tastes seasonal and needs very little fuss |
Sausage, bean and tomato stew
I start by browning 6 sausages in a little oil, then I set them aside while I soften 1 chopped onion, 2 carrots, and 2 cloves of garlic. Into the pot go 2 tins of chopped tomatoes, 1 tin of cannellini or butter beans, about 500 ml of stock, a teaspoon of thyme, and the sausages returned to the pot. After 35 to 40 minutes over a gentle simmer, the sauce thickens and the sausages pick up a deep, savoury flavour.
This is the dish I would choose if the evening is cold, windy, or uncertain. It handles small temperature mistakes better than almost anything else, and it is excellent with crusty bread or a piece of soda bread baked earlier in the day.
Chicken and leek cobbler
For this one, I brown roughly 700 g of chicken thighs, add 2 sliced leeks, and stir in a spoonful of flour before pouring over 400 to 500 ml of stock. A splash of cream or milk makes it richer, but it is optional. On top, I drop simple scone dough made from 250 g flour, 2 teaspoons baking powder, 60 g butter, and about 150 ml milk, then I let the lid heat do its work for around 20 minutes.
The reason this recipe is so useful is that it combines a saucy filling with a fairly fast topping. The base can bubble away while the top browns, so you get a comforting meal without needing a separate oven or a lot of extra kit.
Mountain breakfast hash
This is the breakfast I make when I want to feed people quickly. I use 600 g of diced potatoes, 1 onion, 200 g of bacon or a few chopped sausages, and whatever peppers or mushrooms I have left in the cool box. Once the potatoes are browned and the meat is cooked through, I make a few wells, crack in 4 eggs, cover the pot briefly, and finish with cheddar and black pepper.
It works so well because breakfast is usually the first meal of the day to be rushed, and this dish does not ask for much precision. If you already parboiled the potatoes at home, it gets even faster.
Read Also: Camp Washing Made Easy - Your Guide to Clean Dishes
Apple and blackberry crumble
I like to use 4 apples, a couple of handfuls of blackberries, a little sugar, and a pinch of cinnamon. The topping is just flour, oats, butter, and brown sugar rubbed together until it looks rough and crumbly. Everything goes into the pot, and after 30 to 35 minutes the fruit softens and the topping turns golden.
This is one of those recipes that feels more impressive than it is. It uses British fruit beautifully, it does not demand exact timing, and it is a perfect way to end a meal without standing over the fire for too long.
Once you have a few dishes like these in your pocket, the biggest difference comes from how well you prep before leaving home.
What I pack before I leave home
Good camp cooking is mostly organisation disguised as cooking. The more I can do at home, the less time I spend juggling knives, spice jars, and chopping boards while the fire is changing shape in front of me. I also keep the gear lean; every extra item should earn its place.
| What I pack | Why it matters |
|---|---|
| 12-inch Dutch oven with lid | A good mid-sized pot is enough for a family meal without becoming awkward to carry |
| Lid lifter and heatproof gloves | You need safe handling more than you need clever gadgets |
| Long tongs and a sturdy spoon | They help move coals, stir food, and keep your hands out of the heat |
| Pre-chopped vegetables | Onion, carrot, leek, and potato are much easier to deal with before the trip |
| Measured spices and stock cubes | Small labelled bags save time and avoid the usual "did I pack the paprika?" moment |
| Oil, foil, parchment, and tea towel | These cover browning, lining, resting, and the inevitable clean-up |
| Cool box or insulated bag | It keeps meat, dairy, and eggs safe for longer on a warm travel day |
| Optional instant-read thermometer | Useful for chicken, especially if the fire is inconsistent |
On many UK club sites, open fires are not allowed. The Camping and Caravanning Club makes that clear on its club sites, so I always check the rules before I load firewood and plan a backup with a gas stove or portable burner if needed. That one check saves a lot of disappointment later.
With the right kit in the bag, the remaining risks are mostly avoidable mistakes rather than bad luck.
The mistakes that waste fuel and ruin texture
- Cooking over flames instead of embers - flames are bright, but they are too uneven for a pot that depends on steady heat.
- Lifting the lid too often - every peek dumps heat, slows the cook, and makes temperature control harder.
- Using too much liquid - good camp food should be moist, not watery, especially if you want bread or cobbler toppings to set properly.
- Trying a complicated recipe first - if the dish needs several pans, a strict timetable, and exact timing, save it for the kitchen.
- Ignoring wind and weather - a breezy pitch burns fuel faster and makes heat drift around the pot.
- Leaving cleanup until the next morning - once food dries onto cast iron, the job gets much harder than it needed to be.
I also see people overload the pot with ingredients because they want to make it "worth it". In practice, that usually backfires. A Dutch oven cooks best when the food has room to bubble, steam, and breathe a little. Keep the layers sensible, and the results improve immediately.
That is why I plan the menu around fuel, weather, and campsite rules before I ever think about extras.
A two-night menu that keeps the trip relaxed
If I were planning a family weekend in Britain, I would keep the menu short and repeat the method rather than reinvent it each meal. That keeps shopping simple, reduces waste, and gives you more time around the camp rather than hovering over the fire.
| When | Menu | Prep at home | Why it helps |
|---|---|---|---|
| Friday dinner | Sausage, bean and tomato stew | Chop the vegetables and portion the spices | It is forgiving after a long drive and does not need perfect timing |
| Saturday breakfast | Mountain breakfast hash | Parboil or dice the potatoes in advance | It uses the morning fire efficiently and feeds people fast |
| Saturday dinner | Chicken and leek cobbler | Mix the cobbler dough dry ingredients before you leave | It feels like a proper dinner without adding extra pans |
| Sunday treat | Apple and blackberry crumble | Pack the fruit and topping separately | It uses the remaining embers well and finishes the trip on a calm note |
If you want one extra safety net, bring a second no-drama meal such as cheese scones or baked beans and eggs. I like having that backup because appetite, weather, and fire quality can change faster than the menu does. Start with one stew, one breakfast, and one dessert, and the rest of the Dutch oven learning curve becomes much less intimidating.