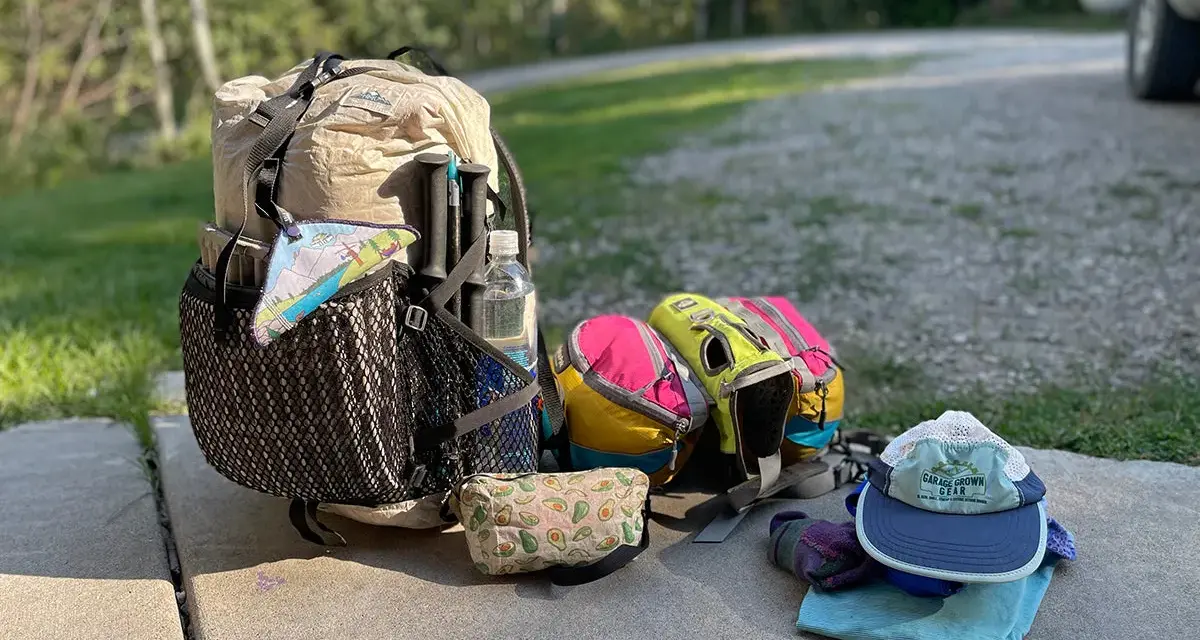
A good backpacking kit is the difference between moving well and spending the whole trip negotiating with your rucksack. The right backpack camping gear is less about owning everything and more about carrying the few pieces that actually keep you dry, fed and rested. In this guide I break down the essentials, the pack sizes that make sense, and the trade-offs that matter most for UK conditions.
The fastest way to pack light without cutting safety
- Start with the big three: backpack, shelter and sleep system.
- For most overnight trips, 30-50 litres is the practical pack range.
- UK trips reward a waterproof shell, dry storage and spare socks more than extra gadgets.
- A loaded pack should stay around 20% of body weight or less as a rough ceiling.
- Simple food, a small stove and good water planning usually beat heavy luxury items.
What the kit needs to do on the trail
I think of a backpacking setup as a small system with five jobs: carry weight comfortably, keep me warm enough to sleep, handle rain and wind, let me eat and drink without fuss, and keep me from making stupid mistakes when daylight fades. If a piece of kit does not help one of those jobs, it is probably optional.
That is why the list gets easier once I separate essentials from nice-to-haves. A portable speaker, extra cooking gadgets or a full change of clothes may feel reassuring, but they rarely improve the actual experience on the trail. Once that function-first mindset is clear, the rest of the pack list becomes much more obvious.
The core kit I would pack first
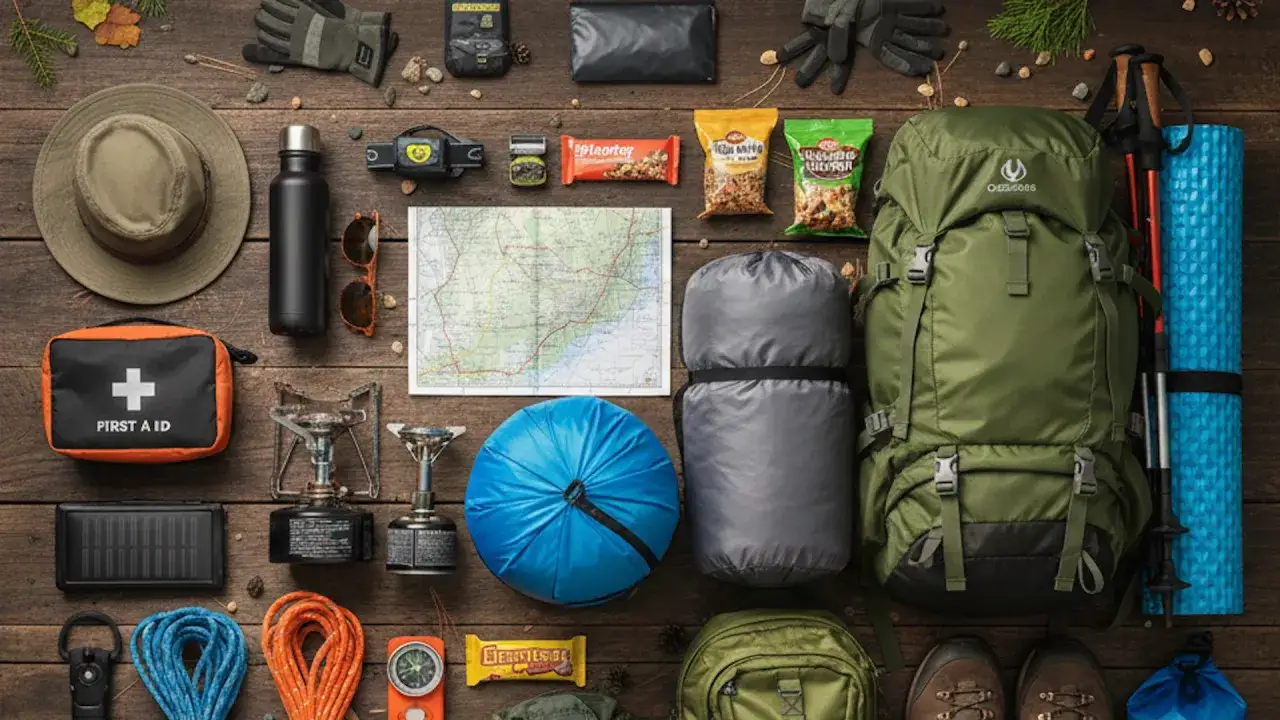
I build every kit around a small number of systems. If those are sorted, the rest is mostly detail.
| System | What I look for | Practical target | Why it matters |
|---|---|---|---|
| Backpack | Comfortable hip belt, stable frame, simple access | 30-50 litres for most overnight trips | It carries the load without making every hill feel worse |
| Shelter | Windworthy, quick to pitch, enough guy points | Freestanding tent, trekking-pole tent or tarp-tent | Dry sleep is the difference between recovery and a miserable night |
| Sleep system | Bag or quilt plus a mat that match the season | Three-season setup for most UK use | Warmth comes from the full system, not one item alone |
| Cooking kit | One pot, one stove, one lighter, one mug or spork | Small canister stove for most trips | Enough to make food and tea without extra bulk |
| Water | Enough capacity plus treatment if the route needs it | 1-2 litres carried, filter or tablets when appropriate | Hydration is not a comfort item, it is a performance item |
| Safety and navigation | Map, compass, headtorch, first aid and phone power | Compact but complete | Small failures become big ones when the light goes |
| Clothing | Layers that handle rain, cold and stops | Waterproof shell, insulation, spare socks | British weather changes fast enough to punish overconfidence |
In the UK market, a workable starter setup usually lands around £250-£500 if you buy carefully, with lighter or more premium pieces pushing the total higher. I would rather see that money go into a better sleep system and a pack that fits than into unnecessary extras. Once the core is right, the next question is whether the rucksack itself matches the trip.
Choosing a backpack that fits the trip
For most overnight trips, I start in the 30-50 litre range. That is roomy enough for shelter, sleep kit, food and wet-weather layers without turning the pack into a rolling cupboard. If I expect two or three nights, colder weather or bulkier insulation, I move toward the upper end rather than forcing the kit into a smaller bag.
The fit matters more than the number on the label. I want the torso length right, a hip belt that actually carries weight, shoulder straps that do not dig in, and pockets that make sense when my hands are cold. A bigger pack is not a fix for poor kit choices; it is usually a sign that the list needs trimming. If the loaded pack starts creeping into double digits in kilograms, I pay attention to fit and suspension very quickly.
- Torso fit should match your back length, not just your height.
- Hip belt support should take most of the load off your shoulders.
- External pockets are useful for wet layers, snacks and a map.
- Rain protection is better as a liner plus dry bags than a cover alone.
REI’s overnight checklist lands in roughly the same pack-size range, which is why I am comfortable treating 30-50 litres as the sensible starting point rather than a guess. Once the rucksack fits the load, the next biggest comfort decision is the shelter and sleep setup inside it.
Shelter and sleep systems that survive UK weather
This is where the trip is won or lost. A tent that pitches easily in the wind, a sleeping bag that matches the temperature, and a mat that stops ground chill are worth far more than a fancy mug or folding chair.
| Shelter type | Best for | Trade-off |
|---|---|---|
| Freestanding tent | Beginners, wet ground, uneven pitches | Usually heavier and bulkier |
| Trekking-pole tent | Solo hikers and lighter kits | Needs poles and a bit more pitching practice |
| Tarp plus bivvy | Experienced hikers in settled weather | Least weather margin and most skill dependent |
For most three-season UK trips, I prefer a shelter that gives me confidence in wind and rain before I chase grams. A warmer, drier night is usually worth a few hundred extra grams if the forecast is changeable.
The sleep system matters just as much. The sleeping bag or quilt should be rated below the lowest temperature you expect, especially if you sleep cold. The pad is the part many people underrate, even though it is doing a lot of the work under you. R-value is simply the mat’s resistance to heat loss into the ground, and for general UK three-season use I think around 3 is a sensible starting point.
Alpkit’s advice on packing similarly stresses keeping damp items under control, and that is exactly right. I use dry bags or a pack liner for the sleep kit every time, because wet insulation is where comfort collapses fastest. With sleep and shelter sorted, food and water become much easier to plan.
Food and water are not the place to get fancy
A backpacking kitchen should be boring in the best possible way. One small stove, one pot, a lighter, a mug or spork, and meals that cook fast are enough for most trips. If I need more than that, I am probably cooking for a group or heading out in colder weather.
- Breakfast should be quick: oats, granola, or a simple hot drink and snack.
- Lunch should not require a campsite: wraps, cheese, trail mix, jerky, bars.
- Dinner should rehydrate or boil fast: pasta, couscous, rice pouches, instant noodles.
- Water should be planned by route, not guessed at the last minute.
If the route has reliable streams, a compact filter or purification tablets can save weight compared with carrying everything from the start. If the route is dry, warm or exposed, I carry more water rather than hoping for the best. Food and water are not glamorous, but they are the two things that make the rest of the kit usable.
Packing for rain, wind and cold mornings
UK weather punishes optimistic packing. Even in warmer months I plan for a cold evening, damp grass, a windy pitch and at least one spell of drizzle that arrives sooner than expected. That means I keep my rain shell accessible, not buried under the sleep kit.
- Waterproof jacket and trousers should be easy to reach fast.
- Mid-layer insulation should be light, packable and warm when stopped.
- Spare socks are small, cheap and disproportionately useful.
- Hat and gloves matter more than most people expect, especially in shoulder seasons.
- Pack liner or dry bags protect the pieces that absolutely must stay dry.
I avoid cotton for anything that might get wet and stay wet. It is fine in town, but on a hillside it becomes a liability. Once weather protection is sorted, the final gain comes from how the pack is organised and carried.
How I pack a rucksack so it carries better
The goal is not just to fit everything in. The goal is to make the load feel stable, predictable and less tiring over hours of walking. I pack the soft, bulky sleep gear at the bottom, the dense items close to my back in the middle, and the things I need quickly near the top or in outside pockets.
- Bottom: sleeping bag, sleep clothes, camp comfort items.
- Middle and close to the back: food, stove, shelter and heavier dense items.
- Top: waterproofs, insulation, headtorch, first aid.
- Exterior pockets: map, snacks, water, gloves and small items I reach for often.
Load-lifter straps, if the pack has them, help pull the weight closer to the body. That sounds like a tiny detail, but over a long climb it makes a real difference. I also like to test the packed bag for an hour before a trip, because a rucksack that feels fine in the hallway can feel terrible after the first hill. Once that is sorted, the last place most people waste money becomes obvious.
Where beginners usually overspend or carry dead weight
The most common mistake is buying the wrong thing first. People often chase a lighter tent before they have fixed the sleep system, or they buy a bigger pack to hide kit that should have been left at home. That is backwards.
- Dead weight usually includes duplicate clothes, extra shoes, large lanterns and bulky comfort items.
- False economy often means cheap shelter with poor weather performance or a poor-fitting pack that causes pain.
- Unnecessary complexity shows up as too many cooking pieces, too many mugs and too many “just in case” tools.
- Base weight is everything except food, water and fuel, and it is the number I use to spot excess before it becomes a problem.
For a family overnight, I would rather carry one reliable shelter, one stove and one well-planned food system than duplicate comfort items for everyone. The trip gets easier when the load is shared intelligently, not when everyone carries a little bit of everything. That same logic is what I use for the final pre-departure check.
The checklist I would run before leaving the car park
Before I walk away from the vehicle, I want the essentials covered and the obvious mistakes removed. This is the shortest list that still catches most problems.
- Rucksack fits properly and the hip belt carries weight.
- Shelter has all poles, pegs and guylines.
- Sleeping bag and mat match the expected temperature.
- Waterproofs are reachable without unpacking the whole bag.
- Headtorch works and has fresh batteries or a charged power bank.
- Map, compass and offline navigation are ready.
- Food, water and stove fuel are enough for the route and the margin.
- First aid, repair tape and any personal medication are packed.
When I narrow backpack camping gear down to essentials, I always come back to the same rule: safety and sleep come before comfort extras. If the kit is dry, warm and easy to carry, the rest of the trip usually takes care of itself.