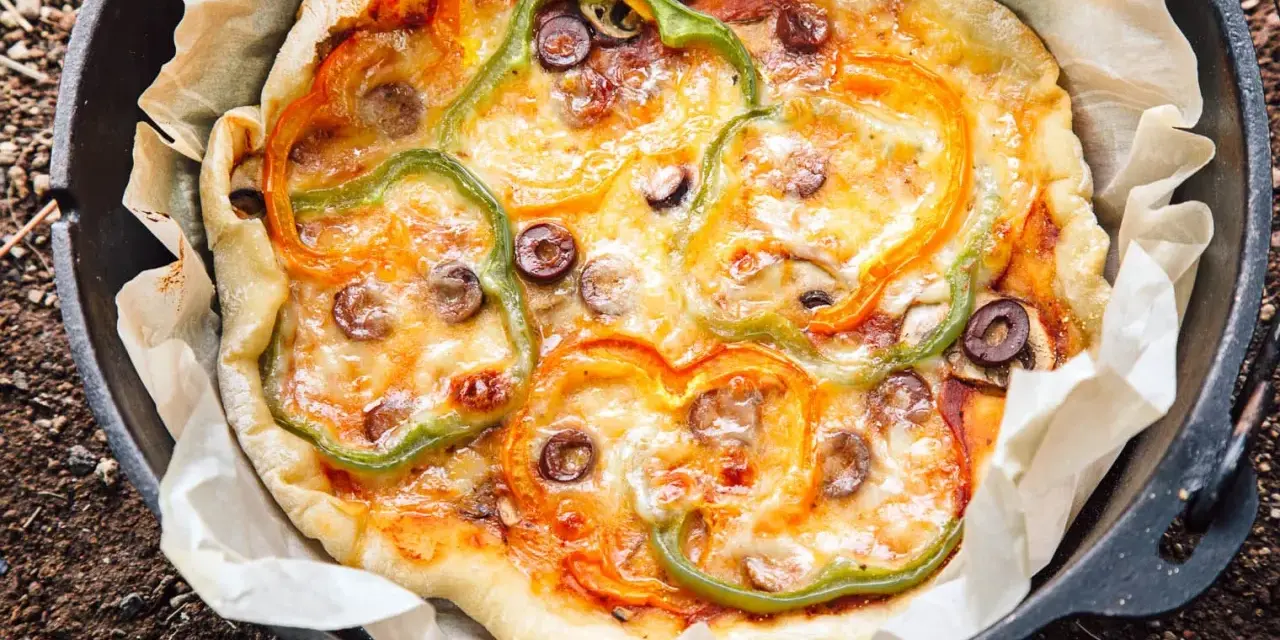
A reliable dutch oven pizza camping setup turns a basic camp meal into something that feels deliberate, not improvised. The aim is not restaurant perfection; it is a crisp base, properly melted cheese and toppings that hold up to fire, wind and a slightly messy campsite timetable. In this guide I walk through the dough choices, heat control, toppings and common mistakes so you can make it work on a real trip, not just in theory.
What you need to get right before the first slice
- Pick the right oven size. A 25 cm (10-inch) Dutch oven suits 2-4 people; a 30 cm (12-inch) oven is better for 4-6.
- Choose dough for the trip you are actually on. Yeast dough tastes best, but ready-made or no-yeast dough is much easier at camp.
- Keep the heat top-heavy. Pizza usually fails from a burnt base long before it fails from a pale top.
- Use fewer toppings than you think. Wet vegetables, heavy sauces and overloading are the quickest route to a soggy centre.
- Expect variation. Wind, coal quality and oven thickness all change the timing, so watch the pizza rather than the clock alone.
- Check campsite rules first. In the UK, many sites are strict about open flames, so plan for charcoal, a fire basket or another permitted setup.
Choose a dough that suits camp life
The dough decides how relaxed this meal feels. If I am staying for several nights and have time to plan, I will happily use a yeast dough with a proper rise. For a weekend trip, though, I usually want something faster, because camp cooking is at its best when it leaves room for the rest of the day.
| Dough option | Typical prep time | Texture | Best for |
|---|---|---|---|
| Yeast dough | 1-2 hours including proving | Closest to proper pizzeria style | Slow evenings and experienced camp cooks |
| No-yeast dough | 20-30 minutes | Softer, more bread-like | Family trips and easy camp dinners |
| Ready-made dough | 5-10 minutes | Reliable and familiar | First attempt, short breaks and low-fuss cooking |
| Flatbread or pitta base | 5 minutes | Thin and crisp | Snack-sized pizzas and very quick meals |
My rule is simple: if the trip is already busy, I do not add a dough project. A ready-made base can still taste excellent when the toppings are thoughtful and the heat is controlled. Once the dough choice is settled, the real challenge becomes managing the oven properly.
Set up the oven for steady heat
The biggest mistake is assuming the recipe is the hard part. In practice, the heat is what decides whether you get pizza or a disappointingly dark crust with half-melted cheese. I prefer bare cast iron outdoors because it handles embers, uneven heat and campsite wear better than delicate cookware.
- Use a camp Dutch oven with legs and a bail handle if you can; it is easier to lift and easier to position over coals.
- Choose a 10-inch oven for smaller groups and a 12-inch oven if you want enough room for a proper family pizza.
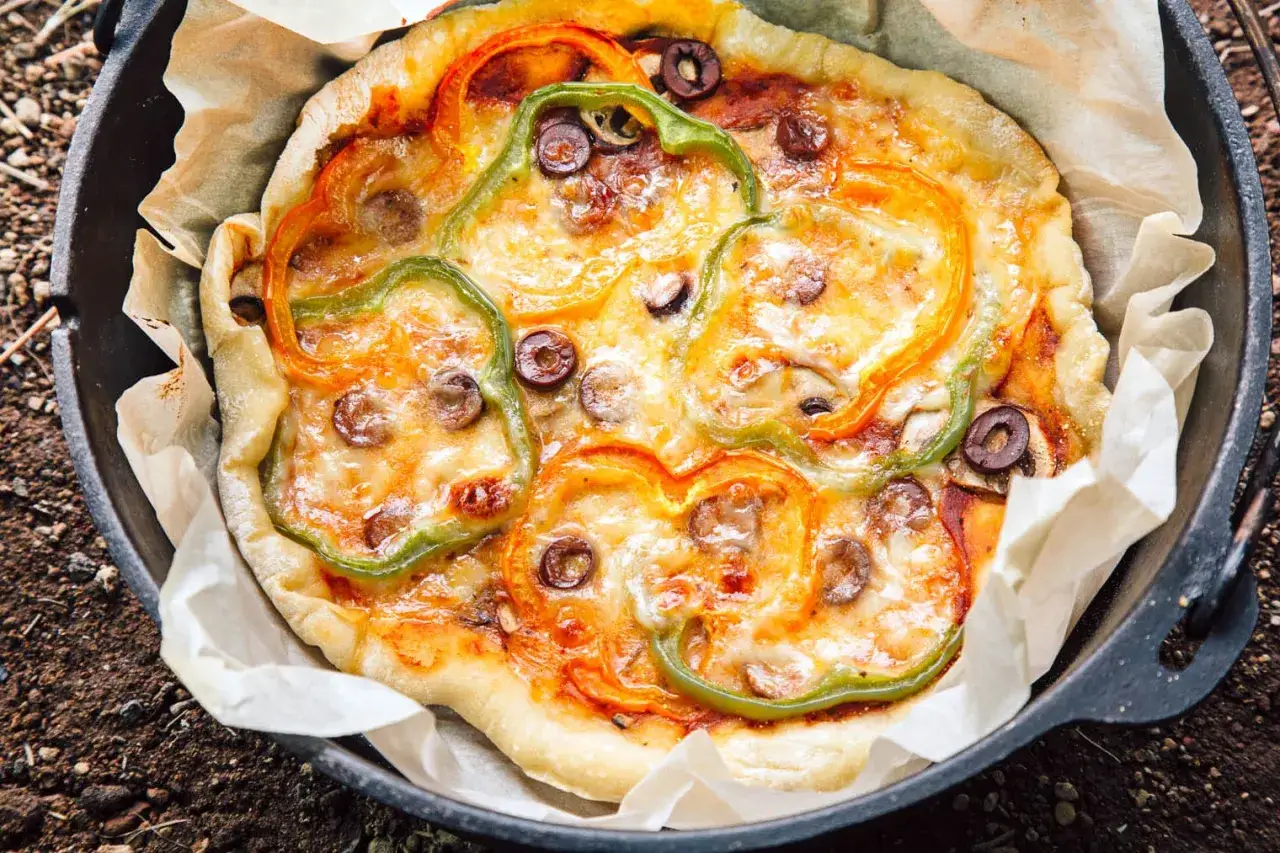
- Line the base with parchment paper if you want a cleaner release. A simple parchment sling, with two overhanging edges, makes lifting the pizza out much easier.
- Keep the heat stronger on the lid than underneath. That helps the cheese melt before the bottom turns too dark.
- Shield the setup from wind. Even a light breeze can strip heat fast and stretch the bake time more than you would expect.
If I am cooking on a charcoal barbecue or a fire basket, I let the heat settle first instead of rushing in as soon as the flames die down. You want a steady cooking environment, not a flare-up. With the oven ready, the assembly phase becomes much more predictable.
Build and bake the pizza step by step
This is the part people tend to overcomplicate. I keep the layers thin, work quickly and leave the oven to do its job. The more the pizza looks like a loaded restaurant pie, the more likely it is to stay undercooked in the middle.
- Lightly oil the base of the oven or lay in parchment with a small overhang.
- Stretch the dough to fit, leaving a modest rim around the edge.
- Spread on a thin layer of sauce, usually about 80-120 ml for a 25-30 cm pizza.
- Add cheese generously but not heavily, roughly 150-200 g of low-moisture mozzarella.
- Top with no more than 2-4 extras, and pre-cook anything that releases a lot of water.
- Cover with the lid and bake for about 18-25 minutes for ready-made dough, or 25-35 minutes for yeast dough.
- Check once around the halfway mark, then rotate if one side is taking more heat than the other.
- Rest the pizza for 3-5 minutes before slicing so the cheese settles and the base firms up.
If the top is still pale while the base is moving towards done, I shift more heat to the lid rather than cranking up the bottom. That small adjustment is often the difference between a good campsite pizza and one that looks rushed. It also leads neatly into the next decision, which is what to put on the pizza in the first place.
Use toppings that survive the campsite
Camp toppings need to do two things well: taste good and behave themselves under heat. The best combinations are the ones that stay relatively dry, cook quickly and do not flood the dough with liquid. I also think the more Mediterranean-style toppings work beautifully for a European camping trip, because they feel fresh without being fussy.
| Topping combination | Why it works | Prep note |
|---|---|---|
| Margherita with basil | Simple, light and low-risk | Use a thick tomato sauce and fresh basil after baking |
| Pepperoni, peppers and onion | Bold flavour and good colour | Slice vegetables thin so they soften quickly |
| Mushroom, spinach and cheddar | Family-friendly and filling | Cook mushrooms first and squeeze out excess moisture |
| Halloumi, olives and roasted courgette | Very campsite-friendly and nicely savoury | Roast or griddle the courgette before it goes on the pizza |
| Ham, sweetcorn and red onion | Easy crowd-pleaser for children and adults | Keep the onion thin and the ham fully cooked |
The rule I stick to is this: if an ingredient leaks water, cook or drain it first. Raw mushrooms, wet tomato slices and too much fresh mozzarella can all turn a good crust into a soft one. A thick sauce and low-moisture cheese make the whole process much more forgiving.
Avoid the mistakes that ruin camp pizza
The failures are predictable, which is useful, because predictable problems are easy to fix. I have seen most bad camp pizzas come from the same handful of errors rather than from a bad recipe.
- Too much sauce. Use a thin layer; pizza should look dressed, not flooded.
- Too many toppings. Three or four ingredients is usually enough, especially if you want the centre to cook through.
- Heat only underneath. The base will darken before the top is ready, so keep the lid working hard.
- Opening the lid constantly. Every peek drops the temperature and slows the bake.
- Cold, wet toppings. Let them drain and warm slightly before you assemble the pizza.
- Ignoring wind. A windy pitch can rob the oven of heat and make the timing unreliable.
If the base browns too quickly, I take some heat away from underneath and let the lid do more work. That is usually more effective than trying to “power through” the problem. Once you get comfortable making that adjustment, the whole method becomes much easier to repeat.
The small habits that make it worth repeating
The difference between a one-off novelty and a genuinely useful camp meal is preparation. I like to bring the sauce in a jar, portion the cheese before leaving home and keep toppings in small containers so the actual cooking feels calm rather than chaotic. For family trips, I often split one dough ball into two smaller pizzas so everyone can build their own version without crowding the oven.
- Make the sauce thick and ready before you leave.
- Pre-slice vegetables and cook anything watery or raw-meat based in advance.
- Bring a pizza wheel or sharp knife for cleaner slicing.
- Wipe the Dutch oven while it is still warm, then dry it fully and oil it lightly.
That cleaning step matters more than people think, because well-kept cast iron performs better and lasts longer. Keep the method simple, keep the toppings modest and you will end up with a campsite pizza that feels practical rather than precious, which is exactly why I keep coming back to it.