A well-packed day pack keeps a hike comfortable, safer, and far less stressful when the weather turns or the route takes longer than planned. Knowing how to pack a day pack for hiking is mostly about three things: choosing the right size, placing weight where it carries well, and keeping the items you need first within reach. In this guide, I focus on the kit that actually earns space in a day pack, how I organise it, and the mistakes that quietly make a short hike harder than it should be.
The practical rules that make a day pack work
- Choose a pack that matches the walk, not the fantasy version of it; 20-35L is usually enough for a long day hike.
- Keep the heaviest items close to your back and centred in the pack so the load feels stable.
- Pack water, waterproofs, food, navigation, first aid, and a head torch before you think about extras.
- Use pockets for fast-access items such as snacks, map, phone, and gloves.
- For UK hills and family walks, assume the weather may change and keep a dry layer easy to grab.
Choose a pack size that fits the walk, not the fantasy
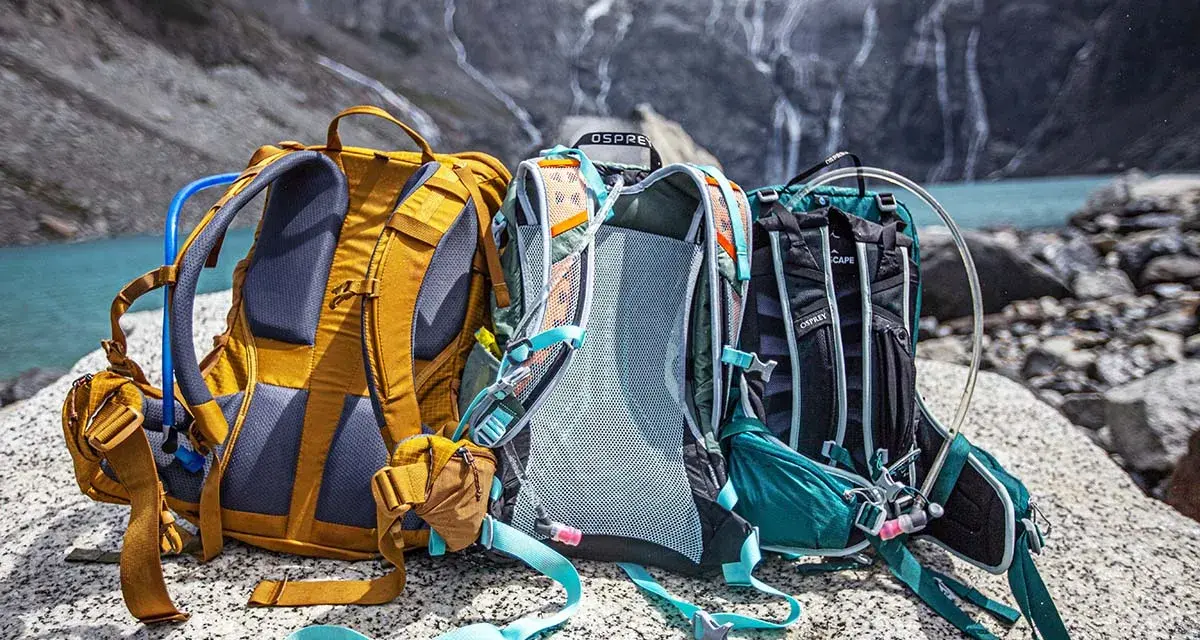
The first decision is size. For most day hikes, I find a 20-25L rucksack works well for a simple route, while 25-35L gives you breathing room for colder weather, heavier waterproofs, or a child’s spare layers. OS GetOutside suggests 20-35L is usually enough for a long day hike, and that range matches what I see on most British hill walks.
The real trap is buying too much capacity and then filling it with things you do not need. A pack that is half empty can also carry badly, so I want enough room for essentials without turning the bag into a mobile cupboard. If the forecast is stable and the route is short, compact wins; if the route is remote, windy, or changeable, I would rather have a little spare volume than a pack that is straining at the seams.
That choice sets the tone for everything else, because a good fit only matters if the load inside it is arranged properly.
Load the pack so the weight sits close to your back
When I pack a day pack, I think in zones rather than categories. The goal is simple: heavy items should sit close to your spine and around the middle of the pack, while lighter or bulkier items can go lower or higher depending on how quickly I need them.
| Pack zone | What goes there | Why it works |
|---|---|---|
| Close to the back | Water bottle or bladder, lunch, heavier food, power bank | Keeps the load stable and stops the pack from pulling away from your body |
| Middle of the main compartment | Spare layer, fleece, compact first-aid kit, camera | Balances the weight where it carries most naturally |
| Top of the pack | Waterproof jacket, map, head torch, gloves, hat | Lets you reach the items you are most likely to need quickly |
| Outer pockets | Snacks, tissues, phone, lip balm, sun cream | Easy access without unpacking the whole bag |
I try to avoid dangling kit on the outside unless there is a clear reason for it. Loose poles, clipped-on bottles, and hanging gadgets create swing, snag on branches, and make the pack feel bigger than it is. A tidy load is not about perfection; it is about keeping the centre of gravity where your body expects it to be.
Once the load feels stable, the next step is deciding which items deserve a place at all.
Pack the essentials before the extras
The National Trust’s hill-walking guidance starts with a waterproof jacket, a mid-layer, gloves, map, compass, head torch, and a first-aid kit, and that is still the right mindset for a British day on the trail. I trim the list depending on the route, but I rarely leave out the basics that help me stay warm, find my way, and deal with small problems before they become bigger ones.
- Water: I usually start with 1 litre for a short cool walk and 1.5-2 litres for longer routes, warmer days, or exposed hills.
- Food: I like at least one proper lunch and two snacks, with one snack that is easy to eat while walking.
- Waterproofs: A jacket is non-negotiable in the UK, and overtrousers are worth it when the route is muddy, windy, or remote.
- Layers: A light fleece or other mid-layer earns its place because you cool down quickly when you stop.
- Navigation: Carry a paper map or downloaded map, plus a compass if the route is unfamiliar or open.
- First aid: Keep blister plasters, a couple of dressings, and any personal medication together in one small pouch.
- Head torch: Small, light, and easy to forget. I still pack one for almost every walk longer than a quick stroll.
- Sun protection: Sun cream, sunglasses, and a cap matter more than many hikers admit, even on bright spring days.
I find it useful to think of these items as problem-solvers rather than gear. Water solves dehydration, waterproofs solve weather, navigation solves uncertainty, and a head torch solves delay. That framing keeps the pack lean without making it careless.
After that, the question becomes where each item should sit so you can reach it without emptying the bag on the path.
Keep the items you need first within easy reach
The best day pack layout is the one you do not have to think about. I like to put the things I will need in motion where I can reach them in seconds, not minutes. That usually means snacks in a hip-belt pocket or top pocket, phone in a secure outer pocket, map in a sleeve or lid pocket, and waterproofs on the top of the main compartment.
- Hip-belt pockets: Snacks, lip balm, tissues, and sometimes my phone.
- Top pocket or lid: Map, compass, head torch, gloves, and a tiny first-aid kit.
- Side pockets: Water bottles, especially if I want to sip without stopping.
- Main compartment: Spare layer, lunch, and anything I only need once or twice.
- Inside a dry bag or waterproof sleeve: Electronics and any item that must stay dry.
If I have to unload half the bag to find the rain jacket, the layout is wrong. The point is not to create a perfect system that looks organised on the living-room floor; it is to make the trail version of the bag work when it starts raining, when someone gets cold, or when I want a snack without breaking stride.
That same logic helps when the weather, terrain, or group size changes.
Adjust the kit for weather, terrain, and family walks
I pack differently for a leafy local loop than I do for a windy ridge or a full family day out. A route in the Lake District, the Scottish hills, or a damp coastal path asks more of a day pack than a sheltered lowland walk, and that is where a little adaptation pays off.
| Situation | What I add | What I usually leave out |
|---|---|---|
| Warm, lowland walk | More water, sun protection, light snacks | Bulky insulation and heavy extras |
| Wet or windy hill route | Overtrousers, warmer mid-layer, gloves, map case | Loose gadgets and anything that cannot get wet |
| Family walk | Extra snacks, wipes, small plasters, spare layer for a child | Anything too delicate, bulky, or fiddly to stop and use |
| Longer or more remote route | Head torch, power bank, emergency blanket or bivvy, extra food | Guesswork about timing |
For family hikes especially, I keep morale items in mind. A spare snack, a dry pair of socks for a child, or a sit mat can do more to keep the day on track than another piece of technical gear. The same goes for hot weather: a cap and a bit more water often matter more than a fancy pack feature.
Once you start adjusting for real conditions, the common packing mistakes become much easier to spot.
The mistakes that make a day pack feel heavier than it is
The biggest mistake I see is overpacking for comfort that never gets used. People add “just in case” items until the pack becomes awkward, then wonder why the walk feels tiring after the first hour. Most of the time, the answer is not better shoulders; it is a cleaner load.
- Packing by category instead of access: If every item is buried, the layout is working against you.
- Hanging gear on the outside: It swings, snags, and shifts the weight away from your body.
- Carrying too much water for a short route: Water is essential, but excess litres add up fast.
- Skipping the dry layer: In the UK, being damp and chilled is the fastest way to make a walk miserable.
- Not testing the pack at home: A quick walk up the stairs or around the house exposes bad balance immediately.
I also think people underestimate how much comfort comes from routine. When the same items always live in the same pockets, you stop wasting energy searching for them and start paying attention to the walk itself. That small habit makes a bigger difference than most gear upgrades.
To finish, I keep one simple system ready so I can pack faster before every outing.
The small system I keep ready before every walk
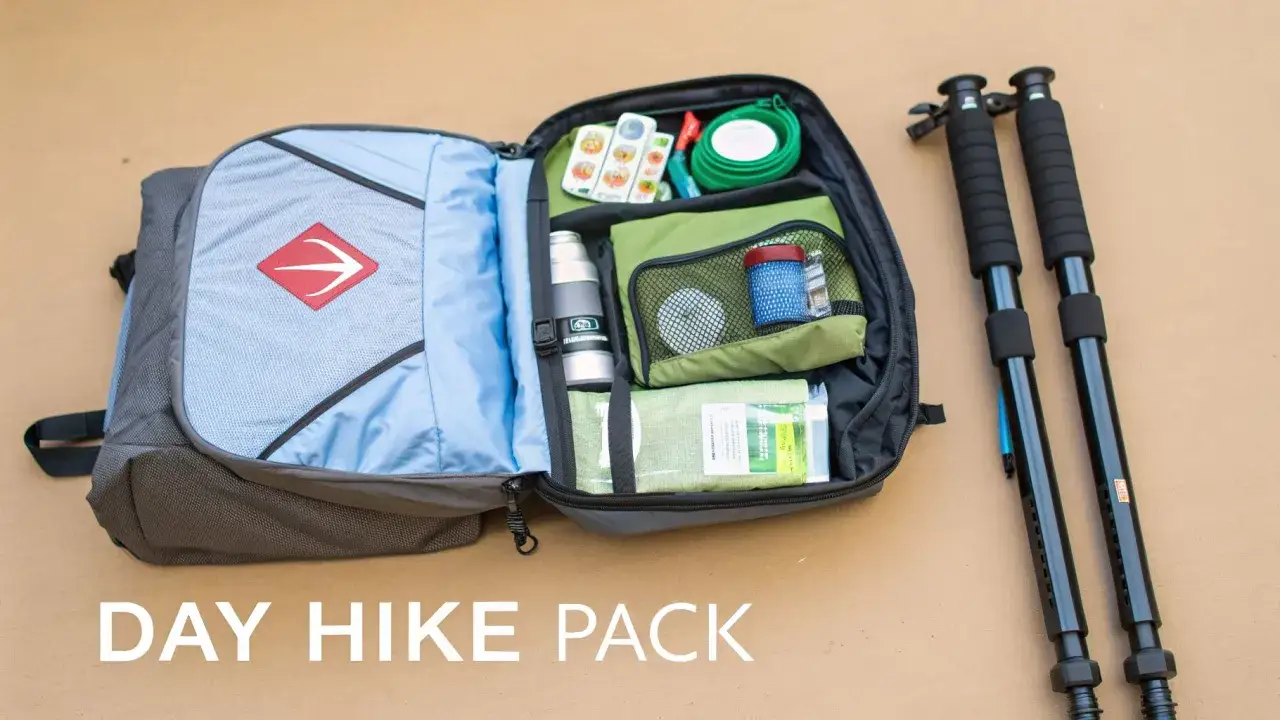
My reusable day-pack setup is boring in the best possible way: a map sleeve, a charged power bank, a compact first-aid kit, a head torch, a dry bag for waterproofs, snacks, and a couple of spare layers that match the season. Before I leave, I top it up with water, check the forecast, and swap in anything route-specific, such as overtrousers, sun cream, or a warmer hat.
That is the practical answer to a good hiking day pack: keep the core kit ready, keep the weight close to your back, and only add extras when the route truly calls for them. If the pack feels balanced and the essentials are easy to reach, you have already done most of the work.